Epson Driver Install: Easy Win 10 64-Bit procedures are essential for ensuring your Epson printer functions optimally with your Windows 10 64-bit operating system.
Without the correct driver, your computer won’t be able to communicate with your printer, rendering it useless for printing tasks. Fortunately, the process is usually straightforward and can be accomplished with a few simple steps. Whether you’re setting up a brand-new Epson printer or reinstalling drivers for an existing one, this guide will walk you through the nuances of a successful Epson driver install for your Windows 10 64-bit system.
Understanding the Importance of the Correct Driver
Before diving into the installation process, it’s crucial to understand why having the correct driver is paramount. Think of the driver as a translator. Your computer speaks one language (digital data), and your printer speaks another (physical ink or toner placement).
The Epson driver acts as the intermediary, translating your print commands into a format your specific Epson model can understand. Using a generic driver or one meant for a different operating system or printer model can lead to a host of problems, including:
Printing errors: Garbled text, incorrect formatting, or incomplete prints.
Functionality issues: Features like scanning, duplex printing, or ink level monitoring might not work.
System instability: In rare cases, incorrect drivers can cause system crashes or slow down your computer.
Security vulnerabilities: Outdated or unofficial drivers might pose security risks.
Therefore, ensuring you have the epson printer install driver for windows 10 64 bit is not just a technicality; it’s fundamental to a smooth and frustration-free printing experience.
Preparing for Your Epson Driver Install
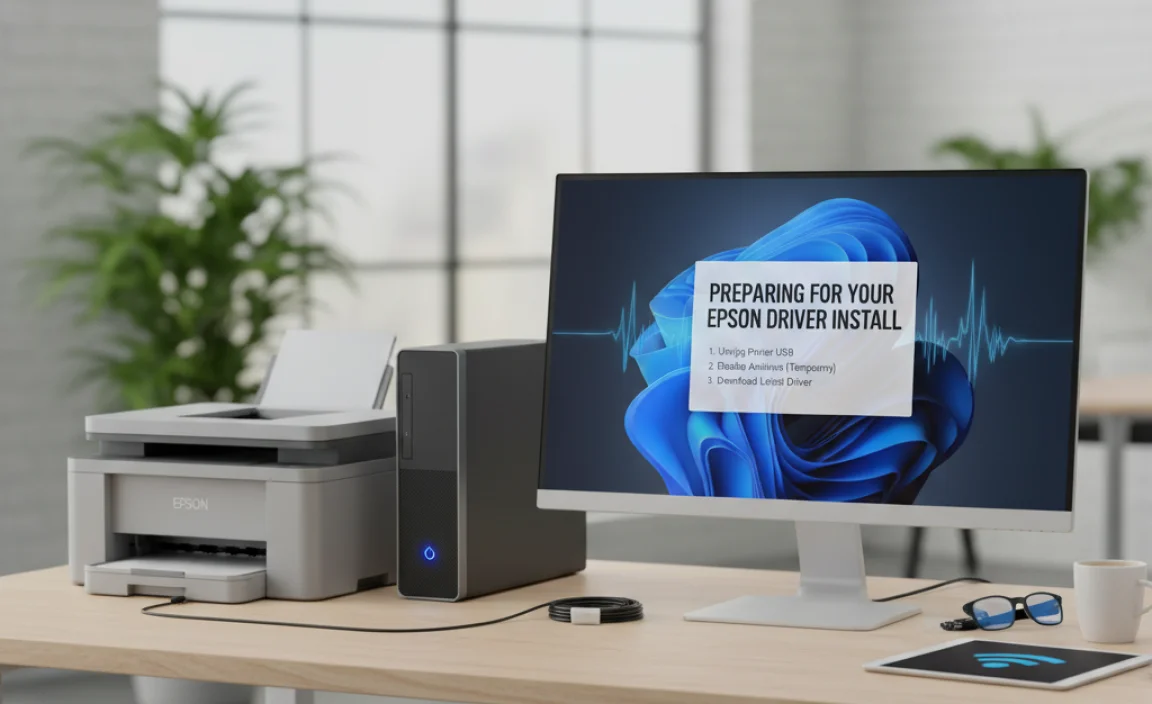
A little preparation can go a long way in making the installation process smoother. Before you begin, gather the following:
Your Epson printer’s model number: This is usually found on the front or top of the printer.
Your Windows 10 64-bit operating system: Confirm that you are indeed running a 64-bit version. You can do this by right-clicking on “This PC” or “Computer” in File Explorer, selecting “Properties,” and looking under “System type.”
An internet connection: This is crucial for downloading the latest drivers from Epson’s official website.
Your printer’s power cable and USB cable (if applicable): Have them readily accessible.
Important Note: It’s generally recommended to not connect your printer to the computer via USB until the driver installation software prompts you to do so. This prevents Windows from trying to install a generic driver automatically, which can sometimes interfere with the official Epson installation.
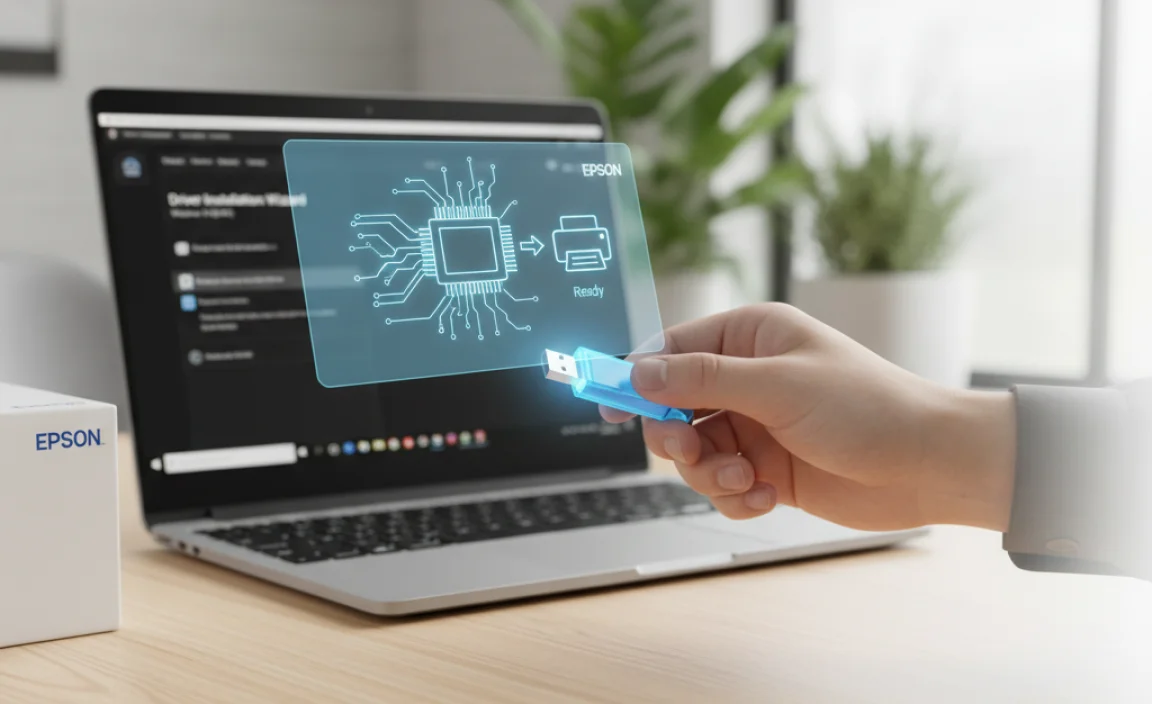
Step-by-Step Guide: The Epson Printer Install Driver for Windows 10 64-Bit
There are primarily two reliable methods for installing your Epson drivers on Windows 10 64-bit: using the Epson support website or utilizing Windows Update.
Method 1: Downloading Drivers from the Epson Official Website (Recommended)
This method ensures you get the most up-to-date and tailor-made driver for your specific printer model and operating system.
1. Open your web browser and navigate to the official Epson support website. This is usually `epson.com` followed by your regional identifier (e.g., `epson.com/support` for the US).
2. Locate the “Support” or “Downloads” section.
3. Enter your printer’s model number in the search bar. For example, if you have an Epson EcoTank ET-2800, type that in.
4. Select your printer model from the search results.
5. The website should automatically detect your operating system. However, it’s good practice to verify that “Windows 10 (64-bit)” is selected. If not, manually choose it from the dropdown menu.
6. Look for the “Drivers” or “Drivers & Utilities Combo Package Installer” section. This package usually includes the printer driver, scanner driver (if applicable), and other useful utility software.
7. Click the “Download” button for the recommended driver package.
8. Once the download is complete, open the downloaded file. It is typically an `.exe` file.
9. Follow the on-screen prompts of the Epson installer. This will guide you through the installation process. You’ll likely be prompted to agree to the license agreement, select your connection type (USB or Network), and then connect your printer when instructed.
10. Connect your printer: When the installer tells you to, connect your Epson printer to your computer using a USB cable or ensure it’s connected to your network if it’s a wireless model.
11. Complete the installation: The installer will detect your printer and finalize the driver setup.
Method 2: Using Windows Update
Windows Update can sometimes find and install the necessary drivers automatically.
1. Connect your Epson printer to your Windows 10 64-bit computer via USB or ensure it’s on the same network for wireless models.
2. Open the Settings app by clicking the Start menu and then the gear icon.
3. Navigate to “Update & Security.”
4. Click on “Windows Update” in the left-hand pane.
5. Click the “Check for updates” button.
6. Windows will search for available updates, which may include printer drivers. If your Epson driver is found, it will be downloaded and installed automatically.
7. Restart your computer if prompted to complete the installation.
While Windows Update can be convenient, it’s not always guaranteed to provide the latest or most comprehensive driver package. For optimal performance and access to all features, the Epson website method is generally preferred.
Troubleshooting Common Issues
Even with a straightforward process, you might encounter minor hiccups. Here are a few common issues and their solutions:
Printer not detected: Ensure the printer is powered on, all cables are securely connected, and you’ve followed the installer’s prompts precisely regarding when to connect the printer. Try a different USB port or cable if using a USB connection.
Driver installation fails: Download the driver again from the Epson website, as the first download might have been corrupted. Temporarily disable your antivirus software during installation, as it might sometimes block driver packages. Ensure you’re downloading the correct driver for your specific model and Windows 10 64-bit.
* Printer prints but not correctly: This usually indicates an incorrect driver is installed. Uninstall the current driver from “Apps & Features” in Windows Settings and then reinstall using the recommended method.
By following these steps, you should be able to successfully achieve an epson printer install driver for windows 10 64 bit, unlocking the full potential of your Epson device for all your printing and scanning needs.