Dell Wifi Missing Driver for Windows 10 can be a frustrating roadblock, preventing you from connecting to the internet and utilizing the full functionality of your device. Whether you’re trying to download essential software updates, stream your favorite shows, or simply browse the web, a missing or malfunctioning Wi-Fi driver can bring your digital life to a standstill. Fortunately, this is a common issue with well-established solutions. This article will guide you through the process of identifying, acquiring, and installing the correct Dell Wi-Fi driver for your Windows 10 system, ensuring you’re back online in no time.
Understanding the “Dell Wifi Missing Driver for Windows 10” Problem
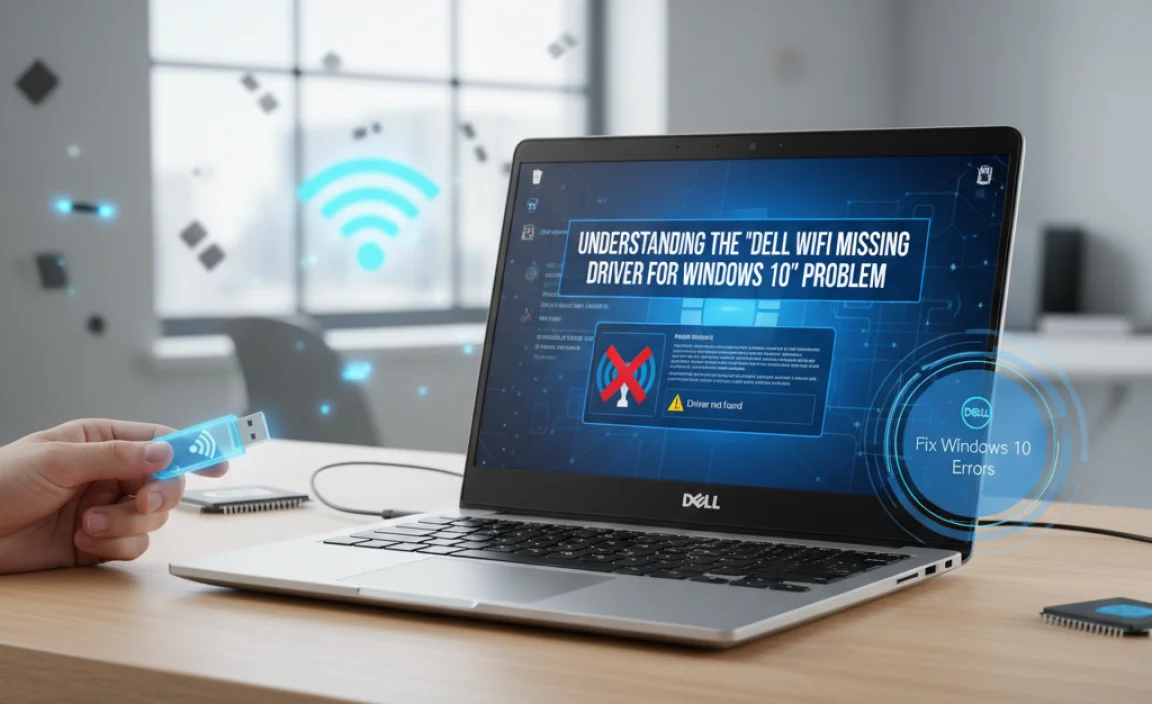
Before we dive into the fixes, it’s crucial to understand why this issue arises. Drivers are essential pieces of software that allow your operating system (Windows 10 in this case) to communicate with your hardware components, such as your Wi-Fi card. When the Wi-Fi driver is missing, corrupted, outdated, or incompatible, Windows simply doesn’t know how to use the Wi-Fi adapter, leading to the dreaded “Wi-Fi adapter not found” or similar error messages.
Several factors can contribute to this problem:
Recent Windows Updates: Sometimes, a Windows update can introduce compatibility issues with existing drivers.
Driver Corruption: Drivers can become corrupted due to software conflicts, malware, or abrupt system shutdowns.
Driver Uninstallation: You might have accidentally uninstalled the driver while trying to resolve another issue.
New Hardware Installation: If you’ve recently added new hardware, it might have inadvertently affected your existing Wi-Fi driver.
Clean Windows Installation: After a fresh installation of Windows 10, all drivers need to be reinstalled, including the Wi-Fi driver.
Troubleshooting Steps to Resolve the Dell Wi-Fi Driver Issue

Let’s systematically work through the solutions to get your Dell Wi-Fi back up and running smoothly.
1. Check Device Manager for Driver Status
The first and most important step is to check the status of your Wi-Fi adapter in Windows Device Manager.
Press Windows Key + X and select Device Manager.
Expand the Network adapters section.
Look for your Wi-Fi adapter. It will likely have “Wireless,” “Wi-Fi,” or “802.11” in its name.
If you see a yellow exclamation mark or a red “X” next to it, or if it’s listed under “Other devices,” it indicates a driver problem.
If you don’t see your Wi-Fi adapter listed at all, it could point to a more severe hardware issue or that the driver is completely missing.
2. Automatically Update the Driver via Device Manager
Sometimes, Windows 10 can automatically find and install a compatible driver.
In Device Manager, right-click on your Wi-Fi adapter.
Select Update driver.
Choose Search automatically for drivers.
Windows will search your computer and the internet for the latest driver. If it finds one, follow the on-screen instructions.
If this doesn’t resolve the issue, the next step is to manually download the driver.
3. Manually Download the Dell Wi-Fi Driver
This is the most reliable method to ensure you have the correct driver for your specific Dell model.
Identify Your Dell Model and Service Tag: The easiest way to find your exact model and service tag is by pressing Windows Key + R, typing `dxdiag`, and hitting Enter. Your system model will be listed. Alternatively, you can find the service tag sticker on the bottom or back of your Dell laptop or desktop.
Visit the Dell Support Website: Go to the official Dell Support website (support.dell.com).
Enter Your Service Tag or Model: Input your service tag or model number into the search bar. This will take you to a page with all the drivers and resources specific to your Dell device.
Navigate to Drivers & Downloads: Look for the “Drivers & Downloads” or “Support” section.
Select Your Operating System: Ensure you select “Windows 10” as your operating system.
Find the Network Driver: Scroll down or use the search function within the driver page to find “Network” drivers. You are looking for the Wireless LAN, Wi-Fi, or WLAN driver from a reputable manufacturer like Intel, Qualcomm Atheros, or Broadcom, depending on what your Dell system uses.
Download the Latest Driver: Download the most recent driver version available. It will typically be an executable file (.exe).
Important Note: If your Wi-Fi is completely non-functional, you’ll need another internet-connected device to download the driver and then transfer it to your Dell laptop via a USB drive.
4. Install the Downloaded Dell Wi-Fi Driver
Once you’ve downloaded the driver file, it’s time to install it.
Locate the downloaded executable file (.exe) on your computer.
Run as Administrator: Right-click on the driver file and select “Run as administrator.” This is crucial to ensure the driver is installed with the necessary permissions.
Follow the Installation Wizard: The installer will guide you through the process. Typically, you’ll just need to click “Next” or “Install” a few times.
Restart Your Computer: After the installation is complete, restart your Dell laptop or desktop. This is essential for the new driver to be properly loaded and for the changes to take effect.
5. Reinstall the Driver via Device Manager (If Manual Installation Fails or is Risky)
If the automatic method didn’t work and you’re hesitant about manual download, or if a previous manual installation seems to have gone wrong, you can try a reinstall within Device Manager.
Go back to Device Manager.
Right-click on your Wi-Fi adapter.
Select Uninstall device.
Crucially, do NOT check the box that says “Delete the driver software for this device” unless you intend to manually install a fresh driver afterward. You want to uninstall the existing, potentially corrupted driver, but keep the software so Windows can re-detect it.
Click Uninstall.
Once uninstalled, restart your computer. Windows will attempt to re-detect the hardware and reinstall a generic or previously downloaded driver. If this doesn’t work, you’ll then need to proceed with the manual download and installation method described in step 3.
6. Run the Network Troubleshooter
Windows 10 has built-in troubleshooters that can often diagnose and fix common network problems.
Go to Settings (Windows Key + I).
Click on Network & Internet.
Scroll down and click on Network troubleshooter.
Follow the on-screen prompts. The troubleshooter will guide you through identifying issues with your Wi-Fi adapter and network settings.
7. Check for BIOS/UEFI Updates
In rare cases, an outdated BIOS or UEFI can cause hardware recognition issues.
Visit the Dell Support website and search for your model.
Look for BIOS or System BIOS updates.
Follow Dell’s instructions carefully for updating the BIOS, as an incorrect update can cause serious problems. This is an advanced step and should only be undertaken if other solutions fail.
Preventing Future Wi-Fi Driver Issues

Keep Windows Updated: Regularly install Windows updates, but be mindful of potential driver conflicts.
Use Dell Update Utility: Dell provides a utility (often called Dell Update or SupportAssist) that can help manage driver and BIOS updates for your specific system. This is generally a safe and recommended tool.
Avoid Third-Party Driver Updaters: While tempting, unofficial driver updater tools can sometimes install incorrect or malicious drivers, exacerbating problems.
By following these steps, you can effectively address the “Dell Wi-Fi missing driver for Windows 10” issue and restore your internet connectivity. Remember, patience and a systematic approach are key to resolving most driver-related problems.