Dell Webcam Driver: Easy Win 10 32-Bit Install
Getting your Dell webcam driver installer for Windows 10 32-bit set up might seem like a daunting task, but it’s usually a straightforward process that can be accomplished with a few simple steps. Whether your webcam has stopped working, you’re experiencing performance issues, or you’ve just rebuilt your system, having the correct drivers is crucial for optimal functionality. This guide will walk you through the most effective methods for downloading and installing the necessary drivers for your Dell webcam on a Windows 10 32-bit operating system, ensuring you’re back to clear video calls and crisp photos in no time.
Why Updating Your Dell Webcam Driver Matters
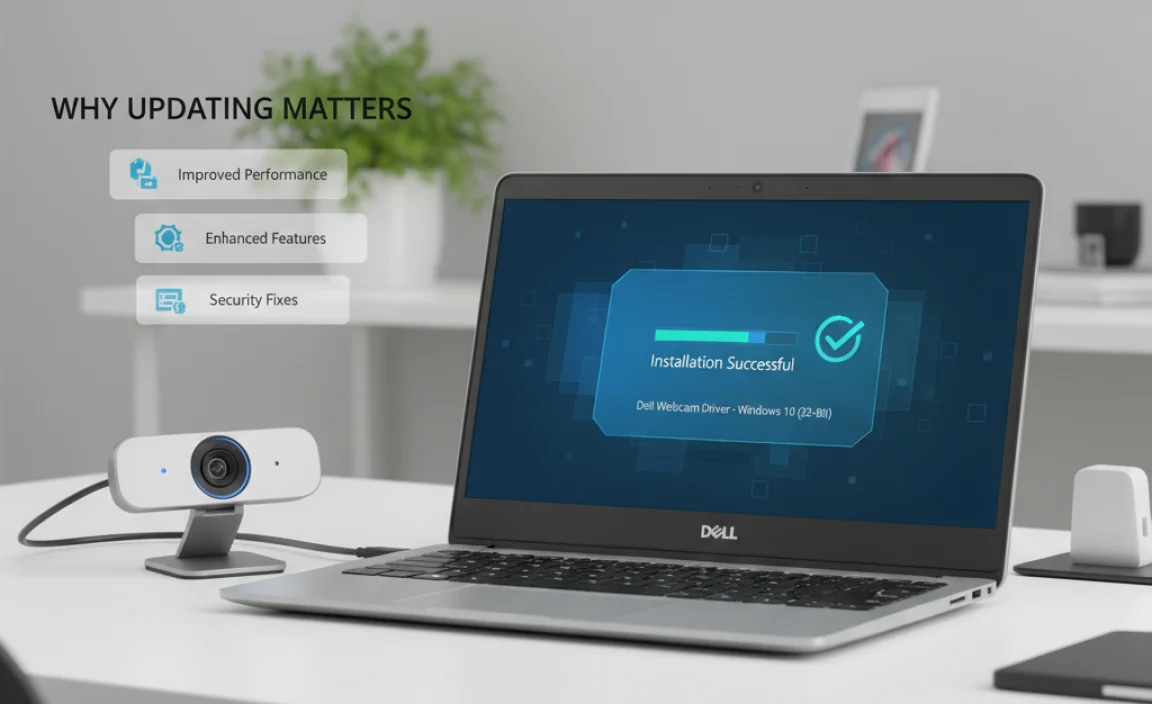
Outdated or corrupted drivers are a common culprit behind malfunctioning hardware. For your Dell webcam, this could manifest in various ways: grainy video quality, the webcam not being detected at all, or specific features not working as expected. Regularly updating your drivers, especially after Windows updates or hardware changes, can:
Improve Performance: Newer driver versions often come with optimizations that enhance video resolution, frame rates, and overall responsiveness.
Fix Bugs: Manufacturers frequently release driver updates to address known issues and bugs found in previous versions.
Enhance Compatibility: Drivers ensure your webcam communicates effectively with your operating system and other software, preventing conflicts.
Enable New Features: Sometimes, driver updates can unlock new functionalities or improve existing ones for your webcam model.
Locating the Correct Dell Webcam Driver Installer for Windows 10 32-bit
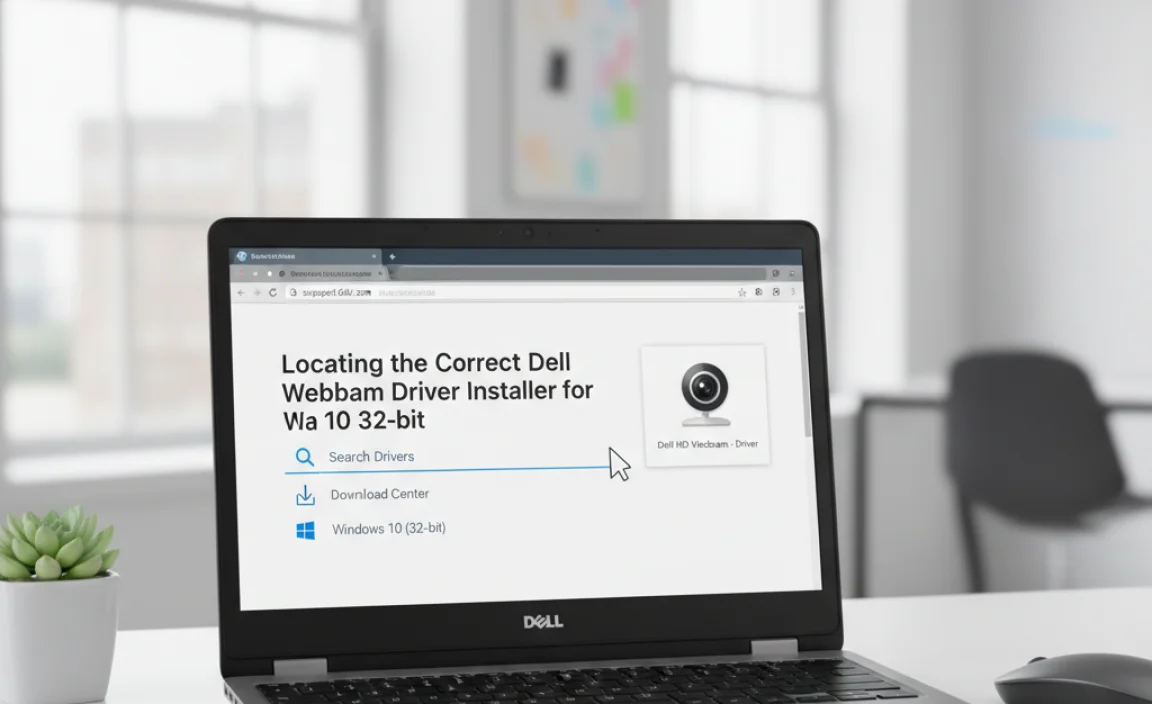
The most reliable place to find drivers is directly from the manufacturer’s website. Dell provides extensive support resources, including a dedicated section for driver and downloads. Here’s how to navigate it:
1. Visit the Dell Support Website: Open your web browser and go to the official Dell support page (support.dell.com).
2. Identify Your Product: You’ll need to tell Dell which product you need drivers for. You have a few options:
Enter Service Tag/Serial Number: This is often the quickest and most accurate method. Your Service Tag is a unique alphanumeric code found on a sticker on your Dell laptop or desktop.
Detect Product: Dell offers a tool to automatically detect your system. Click on the “Detect Product” button and follow the on-screen prompts.
Browse for a Product: If you prefer, you can manually select your product type (laptops, desktops, etc.) and then your specific model.
3. Navigate to Drivers & Downloads: Once your product is identified, look for a section labeled “Drivers & Downloads” or “SupportAssist.”
4. Specify Your Operating System: This is a critical step. Ensure you select “Windows 10” and, most importantly, the 32-bit version. If you’re unsure, you can check by going to `Settings > System > About` and looking under “System type.”
5. Filter for Webcam Drivers: Dell’s website often categorizes drivers. Look for categories such as “Webcam,” “Imaging,” or “Multimedia.” You might need to scroll through the list to find the specific driver for your webcam model. The name of the driver usually includes terms like “Webcam,” “Camera Driver,” or the specific chipset manufacturer (e.g., “Intel RealSense” or “Dell” followed by a model number).
Installing Your Dell Webcam Driver: A Step-by-Step Guide

Once you’ve downloaded the dell webcam driver installer for windows 10 32 bit, the installation process is typically straightforward:
1. Locate the Downloaded File: Your downloaded file will likely be an executable (.exe) file. Find it in your Downloads folder or wherever you saved it.
2. Run the Installer: Double-click the .exe file to launch the installation wizard.
3. Follow the On-Screen Prompts: Most Dell installers are user-friendly. You’ll likely be presented with an agreement, installation options, and a progress bar.
Administrator Privileges: If prompted, grant administrator privileges to the installer.
Installation Location: In most cases, you can accept the default installation location, but you can change it if you have specific preferences.
Installation Type: Choose “Express” or “Typical” installation for the easiest experience unless you have a reason to select a custom installation.
4. Restart Your Computer: This is a crucial step that should not be skipped. After the installation completes, the wizard will usually prompt you to restart your computer. This allows the new driver to be fully integrated into your system.
Dealing with Potential Installation Issues
While the process is generally smooth, you might encounter minor hiccups.
“Driver Already Installed” Message: If you receive this message, it’s possible the correct driver is already on your system, or a previous installation corrupted the files. In this case, you might consider uninstalling the existing webcam driver through Device Manager (explained below) before attempting a fresh install.
Installation Fails: If the installation repeatedly fails, double-check that you downloaded the correct driver version for your specific Dell model and Windows 10 32-bit. Sometimes, antivirus software can interfere with driver installations. Temporarily disabling your antivirus (and remembering to re-enable it afterward) might help.
Alternative Method: Using Windows Device Manager
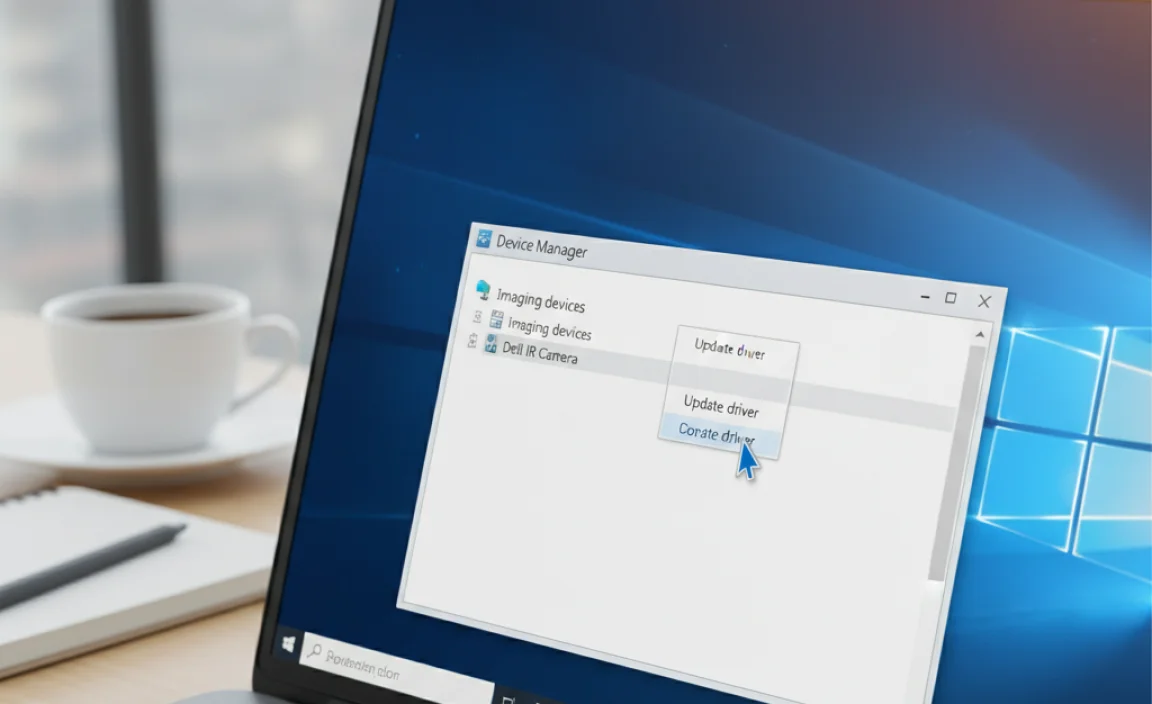
Device Manager is a built-in Windows tool that allows you to manage hardware, including updating, uninstalling, and enabling/disabling devices. This can be a useful alternative or troubleshooting step.
1. Open Device Manager: Right-click the Start button and select “Device Manager.”
2. Locate Your Webcam: Expand the “Cameras” or “Imaging devices” category. You should see your Dell webcam listed here. If it has a yellow exclamation mark next to it, it indicates a driver problem.
3. Update Driver: Right-click on your webcam and select “Update driver.”
4. Choose Search Method:
“Search automatically for drivers”: Windows will attempt to find and install the latest driver if it’s available through Windows Update.
“Browse my computer for drivers”: If you’ve already downloaded the driver package from Dell and extracted its contents (sometimes driver packages are self-extracting archives), you can point Windows to the folder where the driver files are located.
Uninstalling and Reinstalling Drivers via Device Manager
If you suspect a corrupted driver installation, you can use Device Manager to perform a clean install:
1. Open Device Manager and locate your webcam under “Cameras” or “Imaging devices.”
2. Right-click on your webcam and select “Uninstall device.”
3. Check “Delete the driver software for this device” if the option is available. This ensures that no residual files are left behind.
4. Click “Uninstall.”
5. Restart your computer. Windows will attempt to reinstall a generic driver upon reboot.
6. Now, proceed with the manual driver installation by downloading the dell webcam driver installer for windows 10 32 bit from the Dell support site as described previously.
By following these detailed steps, you should be able to easily install or update your Dell webcam driver for Windows 10 32-bit, ensuring your webcam is ready for all your communication needs. Remember to always download drivers from official sources to avoid malware and ensure compatibility.