Downloading custom cursors for Windows 10 is simple and safe. We’ll guide you through finding and installing new cursor schemes to personalize your experience, making your PC look and feel exactly the way you want, all with easy, step-by-step instructions.
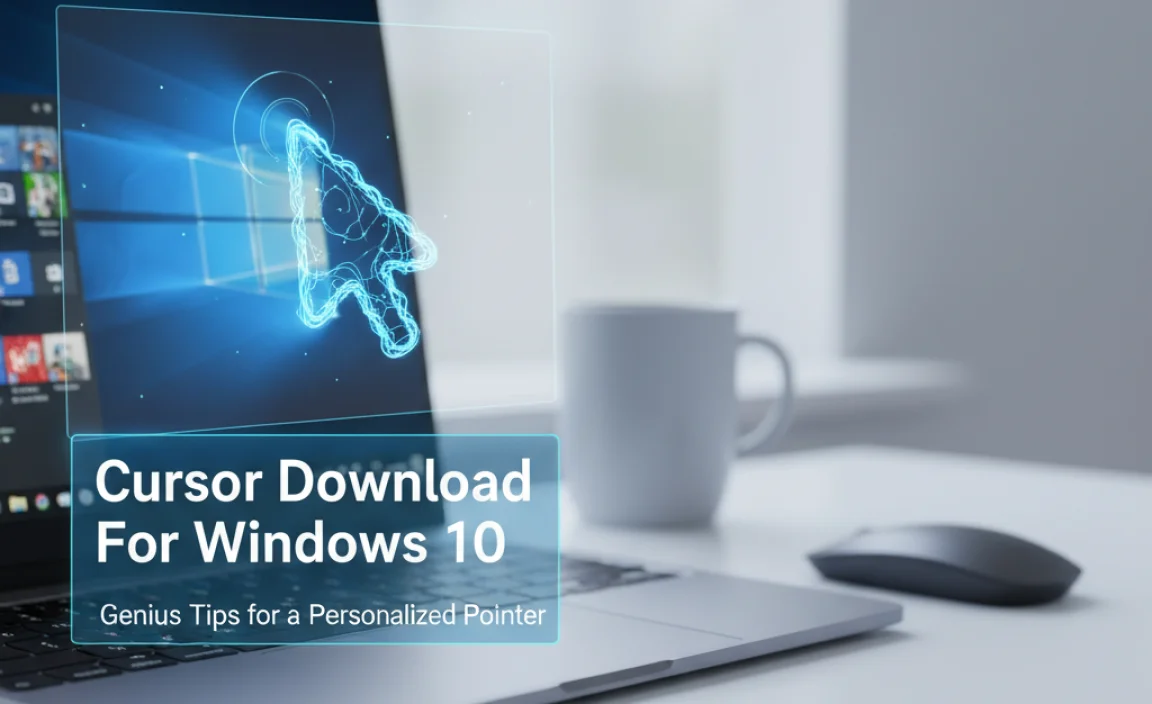
Cursor Download For Windows 10: Genius Tips for a Personalized Pointer
Is your standard mouse cursor feeling a bit… dull? You’re not alone! Many Windows 10 users want to add a bit of personality to their computers. Finding and downloading new cursors might seem tricky at first, especially if you’re worried about messing things up or downloading something unsafe. But don’t worry!
Personalizing your cursor is actually a straightforward and fun way to make your Windows experience uniquely yours. This guide will walk you through everything you need to know, step-by-step, so you can confidently download and install new cursors without any hassle.
Why Customize Your Windows Cursor?
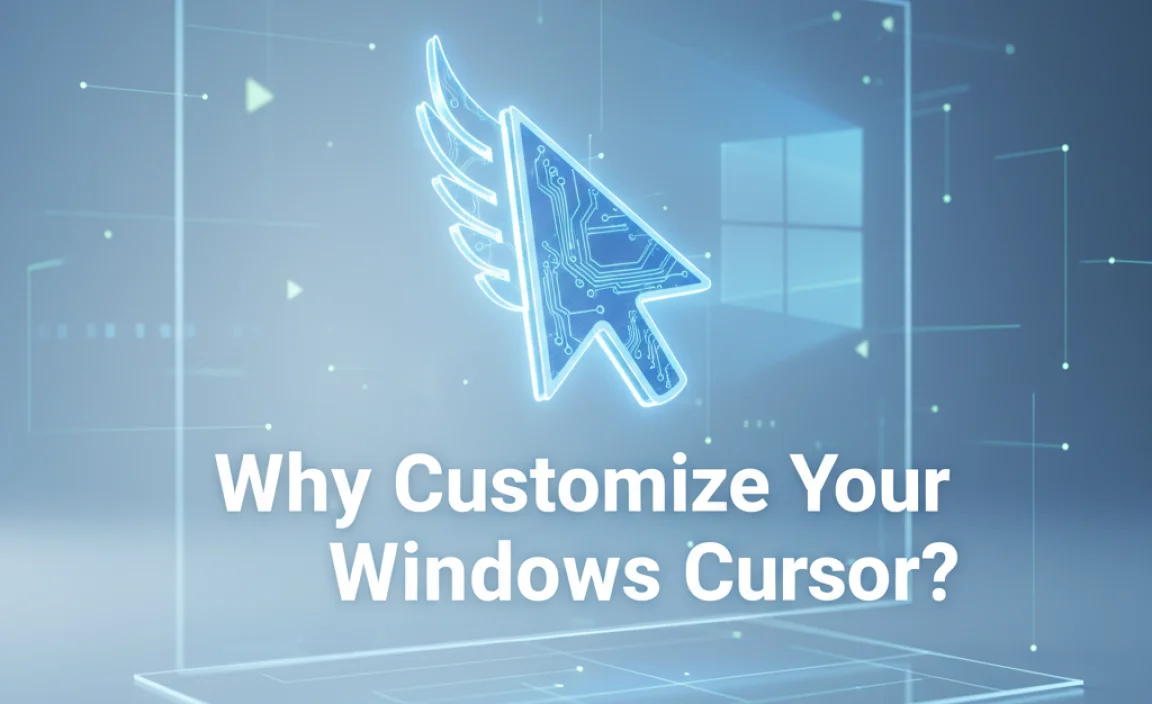
Your mouse cursor is one of the most used elements on your screen. It’s your primary tool for interacting with everything. While the default cursor is functional, it’s pretty basic. Customizing it can:
- Add Personality: Match your cursor to your desktop theme, your favorite game, or just your personal style.
- Improve Visibility: Some custom cursors are larger, brighter, or have distinct outlines, making them easier to see, especially on high-resolution screens or if you have vision impairments.
- Enhance Productivity: For busy users, a more visible or uniquely shaped cursor can help track your focus more easily.
- Just for Fun: Sometimes, you just want something different and visually interesting!
Understanding Cursor Files

Before you start downloading, it’s helpful to know what you’re looking for. Windows cursors are typically stored in files with the .cur (static cursor) or .ani (animated cursor) extensions. These cursors are part of larger packages called “themes” or “schemes.” When you download a custom cursor set, you might get a folder containing these individual files, along with an information file (often .inf) that helps Windows install them easily.
Where to Safely Download Custom Cursors

This is the most important part: finding reputable sources. Downloading from untrusted websites can expose you to malware. Stick to well-known customization sites or Microsoft-approved resources.
Recommended Sources:
Here are a few places where you can usually find safe and cool cursor downloads:
- DeviantArt: A massive online art community with a dedicated section for Windows cursors. Many artists share their creations here. Always check comments and download counts to gauge reliability.
- WinCustomize: This site offers a wide range of customization options for Windows, including cursor schemes.
- Custom Cursor (Browser Extensions): For a simpler, browser-focused experience, browser extensions like “Custom Cursor” allow you to change cursors specifically within your web browser. These are generally safe but only affect browser windows.
- Microsoft Store: While less common for full cursor themes, you might occasionally find cursor packs or related customization apps.
What to Look For in a Download:
- Clear descriptions: Reputable downloads will explain what you’re getting.
- User reviews/comments: See what others say about the download’s quality and safety.
- Well-organized files: A good download will have clear folders for cursors, and potentially an installation guide or script.
Security Tip: Always run a quick scan with your antivirus software on any downloaded files, especially if they are in a .zip or .rar archive, before opening them.
How to Download and Install Custom Cursors (Step-by-Step)
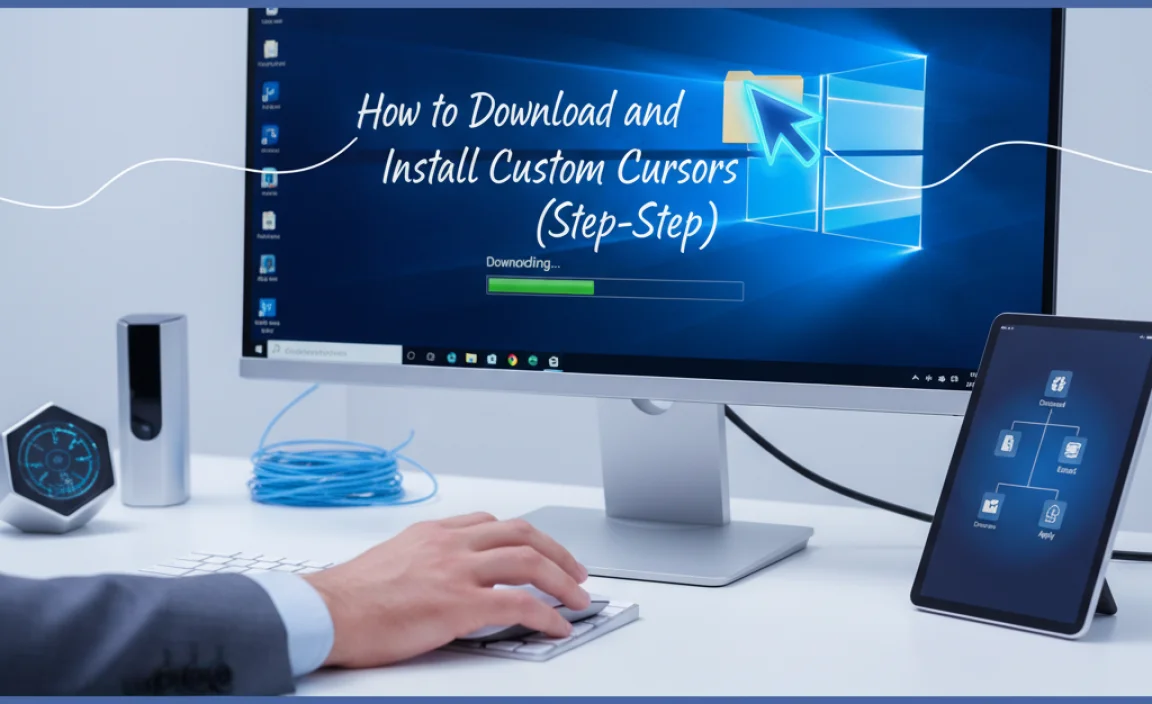
Let’s get your cursor downloaded and installed. We’ll cover the most common installation method.
Step 1: Find and Download Your Cursor Pack
Browse one of the recommended websites and find a cursor pack you like. Download the file, which is often a compressed folder (like a .zip file). Save it to a location you can easily find, such as your Desktop or Downloads folder.
Step 2: Extract the Cursor Files
If you downloaded a compressed folder (.zip, .rar, etc.), you’ll need to extract its contents.
- Right-click the downloaded file.
- Select “Extract All…” (for
.zipfiles). - Choose a destination folder and click “Extract.”
You should now have a folder containing the cursor files (.cur, .ani) and possibly an .inf file.
Step 3: Install the Cursor Scheme
This is where the .inf file comes in handy.
- Open the folder you extracted the cursor files into.
- Look for a file that ends with
.inf. It will usually have the name of the cursor theme. - Right-click on the
.inffile. - Select “Install” from the context menu.
- If a User Account Control prompt appears, click “Yes” to allow the installation.
You might see a brief message indicating that the installation was successful.
Step 4: Apply Your New Cursor Scheme in Windows Settings
Now that the cursors are installed, you need to tell Windows to use them.
- Press the Windows key + I on your keyboard to open Settings.
- Click on “Devices.”
- In the left-hand menu, click on “Mouse.”
- On the right, click on “Additional mouse options.” This will open the classic Mouse Properties window.
- Go to the “Pointers” tab.
- In the “Scheme” dropdown menu, you should now see the name of the cursor pack you just installed. Select it.
- You’ll see a preview of your pointer scheme below. Click “Apply” to see the changes.
- Click “OK” to close the Mouse Properties window.
Voila! Your mouse cursor should now be using your new downloaded scheme.
Alternative Installation Method (Manual)
Sometimes, a downloaded pack might not include an .inf file, or the installation might fail. In such cases, you can manually add cursors to Windows’ Customization folder.
- Locate the folder containing your extracted
.curand.anifiles. - Press Windows key + R to open the Run dialog.
- Type
C:WindowsCursorsand press Enter. This is where Windows stores its cursor schemes. - Copy all the
.curand.anifiles from your downloaded pack into thisC:WindowsCursorsfolder. You will need administrator privileges. - Now, follow Step 4 above (Apply Your New Cursor Scheme in Windows Settings). When you go to the “Pointers” tab in Mouse Properties, you can manually select each cursor type (Normal Select, Help Select, Working In Background, etc.) from the list, browsing to the
C:WindowsCursorsfolder if necessary to find your new custom cursors. - After selecting all desired cursors, save this new configuration as a new scheme using the “Save As…” button under the “Scheme” dropdown.
Troubleshooting Common Cursor Issues
Even with simple changes, things can sometimes go wrong. Here are solutions to common problems:
Issue 1: Cursor Doesn’t Appear in the Scheme List
Cause: The installation process likely failed, or the .inf file was not correctly read by Windows.
Fix: Try the manual installation method described above. Ensure you are copying the .cur and .ani files directly into the C:WindowsCursors folder. After copying, restart your computer and check the scheme list again.
Issue 2: Downloaded Cursors Are Not Working (e.g., Blank, Incorrect Image)
Cause: The cursor files might be corrupted, incomplete, or not compatible with Windows 10.
Fix: Re-download the cursor pack from the original source. If the problem persists, try downloading from a different, reputable source. Ensure the files are actually .cur or .ani files. Sometimes, a file might be mislabeled.
Issue 3: Animated Cursors Are Not Animating
Cause: This can happen if a specific cursor element isn’t properly linked or if there’s a system setting interfering.
Fix: First, ensure you have applied the entire scheme from the “Pointers” tab. If only specific animated cursors aren’t working, it might be an issue with the cursor pack itself. Try a different animated cursor pack to see if the problem is generic or specific to that download.
Issue 4: Lost Customizations After a Windows Update
Cause: Major Windows updates can sometimes reset system settings or overwrite custom theme files.
Fix: Unfortunately, this is a known issue. You will likely need to re-apply your custom cursor scheme. If you saved your custom scheme using the “Save As…” button in Mouse Properties, it should still be available in the dropdown list. If not, you may need to re-install the cursor pack and select it again.
Comparing Cursor Installation Methods
Here’s a quick look at the pros and cons of the different ways you might install cursors:
| Method | Ease of Use | Reliability | Speed | Best For |
|---|---|---|---|---|
| Using .inf File | Very Easy | High (if inf is well-made) | Fast | Beginners, quick theme changes |
| Manual Copy to Cursors Folder | Moderate | High (direct control) | Moderate | When .inf is missing or fails, advanced users |
| Browser Extensions | Extremely Easy (browser only) | High (for browser) | Instant (for browser) | Changing cursors within web browsers |
Security Best Practices for Cursor Downloads
We touched on this earlier, but it’s worth emphasizing. Protecting your PC is paramount.
- Download from Trusted Sites: Stick to reputable communities and download sites. Avoid random links from forums or pop-up ads.
- Scan Downloads: Always use your antivirus software to scan any downloaded file before opening or extracting it.
- Check File Extensions: Ensure you’re downloading
.cur,.ani, or installer files (.inf,.exefrom reputable sources). Be wary of executable files (.exe) from unknown sources, as they can potentially install unwanted software, not just cursors. - Read Permissions: If an installer asks for broad system permissions, be cautious. A cursor installer should only need basic system access, not administrator rights to modify core system files outside of the Cursors folder.
- Use a Standard User Account: If possible, perform installations from a standard user account. You’ll be prompted for administrator credentials when needed, giving you an extra layer of control and preventing unauthorized changes.
For more in-depth information on general PC security, check out resources like the Cybersecurity & Infrastructure Security Agency (CISA).
Windows 11 Cursor Options
If you’ve already upgraded to Windows 11, the process is very similar. The interface is slightly different, but the core functionality remains the same.
To change cursors in Windows 11:
- Press Windows key + I to open Settings.
- Go to “Accessibility” in the left sidebar.
- Click on “Mouse pointer and touch.”
- Under “Mouse pointer style,” you have options for the default Windows cursors.
- To use custom downloaded cursors, you’ll still need to go through the “Additional mouse options” which is found by scrolling down and clicking “Mouse accessories.” This will open the familiar Mouse Properties window from Windows 10, where you can select your installed schemes from the “Pointers” tab.
Tips for Finding Great Cursors
Beyond just downloading, here are some “genius tips” for a truly satisfying cursor experience:
- Match Your Wallpaper/Theme: Pick a cursor that complements your desktop background or overall color scheme.
- Consider Functionality: Do you need a larger cursor for better visibility? A brighter color? Some packs offer variations for different needs.
- Test Animated Cursors: Animated cursors can be cool but also distracting or resource-heavy. Try a few to see if you like them in practice.
- Keep a Default Backup: Always save the default Windows cursor scheme. You can do this in the “Pointers” tab by selecting “Windows Default (system scheme)” and then clicking “Save As…” with a name like “My Default Cursors.” This makes it easy to revert if something goes wrong.
- Organize Your Downloads: Create a specific folder for your downloaded cursor packs and installation files so you can easily find them later if you need to re-install or switch.
Frequently Asked Questions (FAQ)
Q1: Are custom cursors safe to download?
A1: Yes, generally, as long as you download them from reputable sources and scan them with antivirus software. Avoid unknown websites.
Q2: Can I download animated cursors for Windows 10?
A2: Absolutely! Animated cursors use the .ani file format. Just ensure the download package includes them and that they are installed as part of a scheme.
Q3: I installed a cursor pack, but my old cursor is still showing. What do I do?
A3: Make sure you’ve correctly applied the new scheme in the Mouse Properties (“Pointers” tab) and saved it by clicking “Apply.” If it’s still not there, try manually reinstalling the cursor files and then reapplying the scheme.
Q4: What happens if a Windows update removes my custom cursors?
A4: Sometimes updates can reset customization. If you saved your custom scheme in Mouse Properties, you can re-select it from the “Scheme” dropdown. Otherwise, you may need to re-install the cursor pack.
Q5: Can I create my own cursors?
A5: Yes, there are specialized software tools and online editors that allow you to design and save your own .cur and .ani files.
Q6: Do custom cursors use more system resources?
A6: Basic static cursors use negligible resources. Animated cursors might use slightly more, but it’s usually not noticeable on modern computers.
Conclusion
Personalizing your Windows 10 or Windows 11 cursor is a fantastic way to make your computer feel more like your own. By following these steps, you can confidently download and install new cursor schemes, ensuring your system not only looks great but remains secure. Remember to always prioritize safe downloading practices, and don’t hesitate to use the troubleshooting tips if you encounter any issues. With a little effort, you can transform your everyday computing experience with a pointer that truly represents you!
Related Posts
- Download Broadcom Ethernet Driver for Win 11 Offline
Spanish Keyboard Windows 10: Easy Setup- Free Speech to Text Software Windows 10
- Realtek Driver for Windows 10: Essential Fix