Quick Summary: Proactively check for errors in Windows 10 using built-in tools like System File Checker and Check Disk. These essential fixes resolve common issues, improve system stability, and keep your PC running smoothly. Learn how to perform these checks and maintain a healthy Windows 10 system with our easy-to-follow guide.
Check For Errors Windows 10: Essential Fixes to Keep Your PC Running Smoothly
Is your Windows 10 computer acting a bit sluggish? Are you encountering strange error messages or experiencing unexpected shutdowns? Don’t worry, you’re not alone! Many Windows 10 users face these kinds of glitches from time to time. It can be frustrating when your computer doesn’t behave as it should, but the good news is that many common problems are quite fixable. This article will guide you through the essential steps to check for and fix errors in Windows 10. We’ll explore simple, built-in tools that can scan your system, identify issues, and get things back on track. Prepare to gain confidence as we uncover how to keep your Windows 10 PC healthy and reliable!
Why Checking for Errors is Important for Windows 10
Your Windows 10 operating system is a complex piece of software, and like any complex system, it can sometimes develop minor issues. These issues can stem from various sources, including corrupted system files, bad sectors on your hard drive, or even problems with device drivers. When left unchecked, these small errors can snowball into bigger problems, leading to:
- Slow performance
- Frequent crashes or freezes
- Applications not opening or working correctly
- Difficulty installing updates
- System instability
Regularly checking for and fixing these errors is a crucial part of maintaining your PC’s health. It’s like taking your car in for regular maintenance – it prevents bigger, more expensive problems down the road. By using Windows’ built-in tools, you can proactively identify and resolve many common issues before they significantly impact your daily use. Think of it as being your own PC’s doctor!
Understanding Different Types of Windows 10 Errors

Before we dive into the fixes, it’s helpful to understand the kinds of errors you might encounter. Windows 10 errors often fall into a few main categories:
1. Corrupted System Files
These are essential Windows files that have become damaged or altered. This can happen due to faulty shutdowns, malware infections, or disk errors. Corrupted system files can cause a wide range of issues, from boot problems to application failures.
2. Disk Errors
Your hard drive or SSD is where all your data is stored. If there are bad sectors (physical or logical errors on the disk surface) or file system corruption, Windows may not be able to read or write data correctly. This can manifest as data corruption, slow read/write speeds, or even drive failure.
3. Driver Issues
Device drivers are special software that allow Windows to communicate with your hardware (like your graphics card, printer, or network adapter). Outdated, corrupted, or incompatible drivers can lead to hardware not working properly or causing system instability and error messages.
4. Application-Specific Errors
Sometimes, errors are not system-wide but specific to a particular program. These might be caused by the application itself, its installation files, or conflicts with other software.
This guide will focus on tackling the first two categories, as they are the most fundamental to system stability and are often the root cause of many other problems. We’ll show you how to check for errors in Windows 10 that affect the core of your operating system and storage.
Essential Tool 1: System File Checker (SFC)
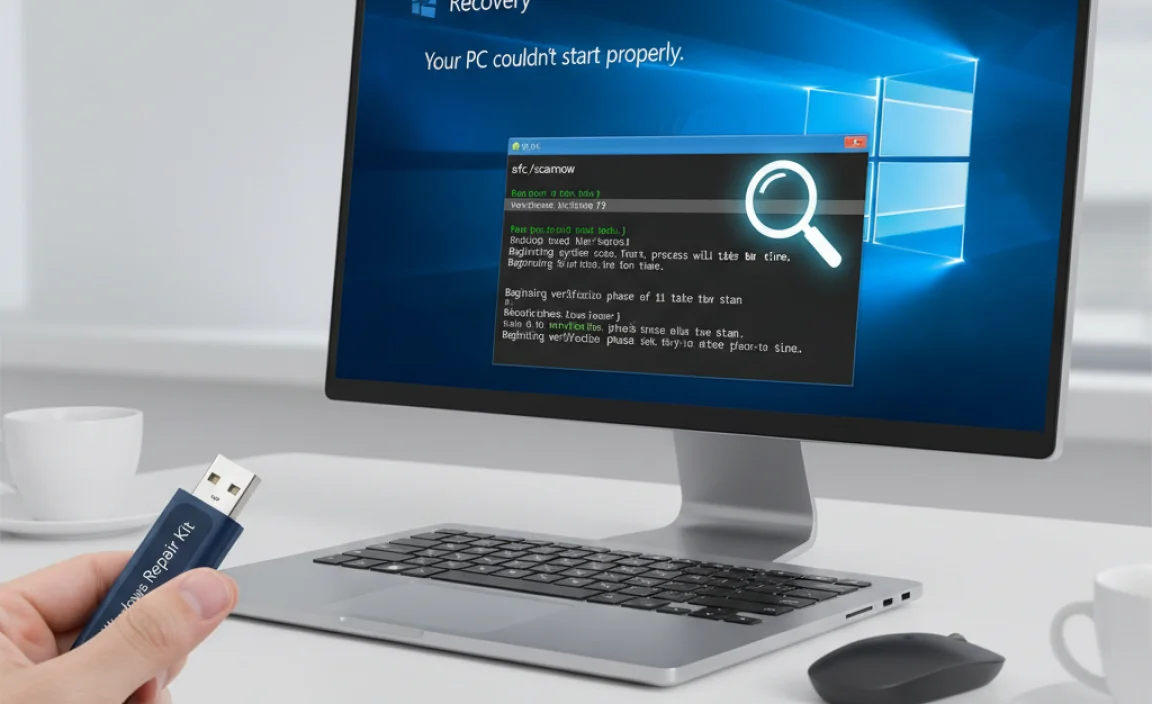
The System File Checker, or SFC, is a powerful command-line utility built into Windows. Its primary job is to scan all protected system files and replace any corrupted or missing files with a cached copy. It’s your first line of defense against corrupted Windows files.
What SFC Does:
- Scans for corrupted, missing, or incorrect versions of system files.
- Replaces problematic files with correct versions from a compressed folder located on your system.
- Helps resolve issues like system instability, application errors, and boot problems caused by file corruption.
How to Run SFC Scans in Windows 10
Running SFC is straightforward, but it requires using the Command Prompt as an administrator. Don’t let the “command prompt” scare you; it’s just a text-based interface, and we’ll walk you through each step.
Step 1: Open Command Prompt as Administrator
- Click the Start button (the Windows icon) in the bottom-left corner of your screen.
- Type cmd in the search bar.
- In the search results, right-click on Command Prompt.
- Select “Run as administrator” from the context menu.
- If prompted by User Account Control (UAC), click Yes.
Step 2: Run the SFC Scan
Once the Command Prompt window opens with administrator privileges, you’ll see a blinking cursor next to the prompt. Type the following command exactly as it appears:
sfc /scannow
Press the Enter key on your keyboard.
Step 3: Wait for the Scan to Complete
The scan will begin. You’ll see a message indicating that the scan is in progress. This process can take some time, usually between 15 minutes to an hour, depending on your system’s speed and the number of files to check. Please be patient and do not close the Command Prompt window during the scan.
Step 4: Interpret the Results
Once the scan is finished, SFC will provide a message indicating the outcome. Here are the most common results:
- “Windows Resource Protection did not find any integrity violations.” This means SFC found no issues with your system files. Great news!
- “Windows Resource Protection found corrupt files and successfully repaired them.” This is the result you want to see. SFC found problems and fixed them. You might be prompted to restart your computer for the changes to take full effect.
- “Windows Resource Protection found corrupt files but was unable to repair some of them.” This indicates that SFC found some files it couldn’t fix automatically. There are often workarounds for this, which we’ll discuss later in the “Advanced SFC Troubleshooting” section if needed.
- “Windows Resource Protection could not perform the requested operation.” This might suggest a deeper problem, possibly related to Windows’ ability to access its own files. This could indicate a need for disk checks or other troubleshooting.
If SFC reports successful repairs, it’s a good idea to restart your computer to ensure all changes are applied correctly.
When SFC Might Not Be Enough: DISM
Sometimes, the SFC tool itself relies on a healthy Windows component store. If the component store is corrupted, SFC might not be able to find or use the correct files to perform repairs. In such cases, you need to use another powerful tool called Deployment Image Servicing and Management (DISM).
DISM can help repair the Windows component store, which SFC then uses to fix system files. It’s a good idea to run DISM before running SFC if you suspect deeper corruption or if SFC reported it couldn’t fix some files.
How to Run DISM to Help SFC
- Open Command Prompt as Administrator (follow the same steps as above).
- Type the following DISM command and press Enter:
DISM /Online /Cleanup-Image /RestoreHealth
This command will connect to Windows Update to download and replace any corrupted files in the component store. This process can also take a significant amount of time (sometimes up to an hour or more) and requires an active internet connection. Do not close the window until it completes.
- Once DISM finishes, restart your computer.
- After restarting, open Command Prompt as Administrator again.
- Run the SFC scan one more time:
sfc /scannow
Using DISM followed by SFC often resolves issues that SFC alone could not fix.
Essential Tool 2: Check Disk (CHKDSK)
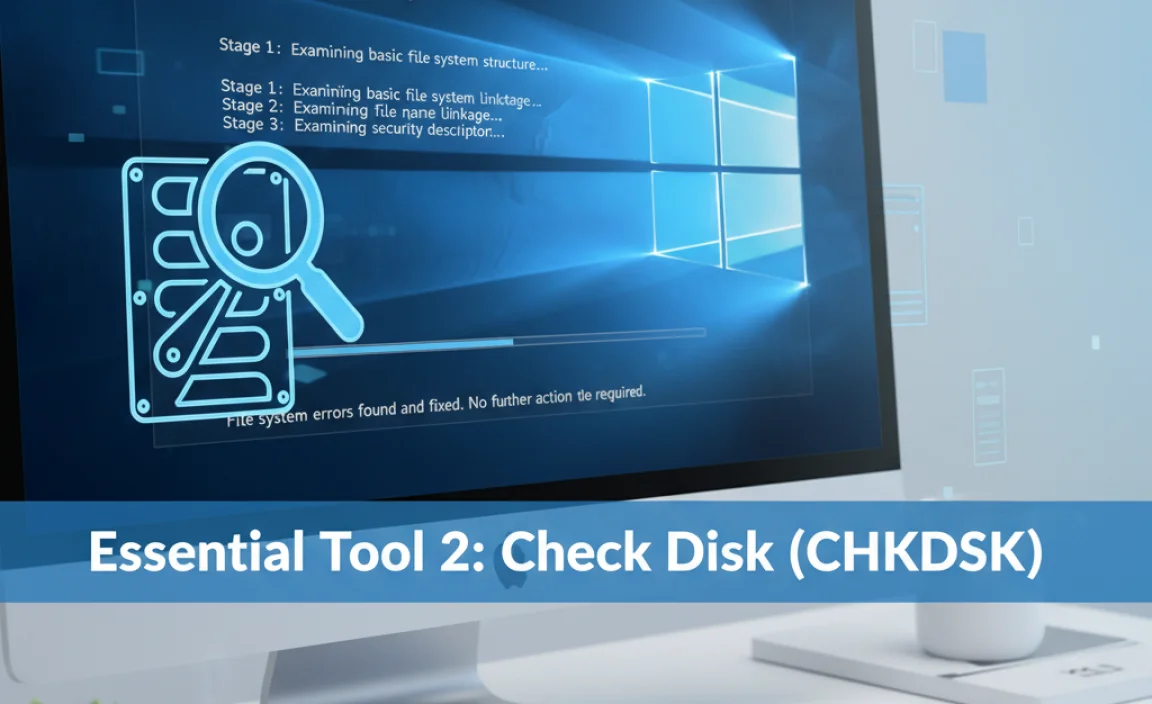
While SFC deals with Windows system files, Check Disk (CHKDSK) is the tool for examining your hard drive or SSD for errors. It can find issues with the file system structure of your drive and can also scan for and attempt to repair bad sectors.
What CHKDSK Does:
- Scans the entire hard drive for file system errors (like lost clusters or cross-linked files).
- Can optionally scan for physical bad sectors on the drive.
- Fixes file system errors and, if possible, recovers readable information from bad sectors.
- Helps prevent data loss and system crashes related to disk integrity problems.
How to Run CHKDSK in Windows 10
You can run CHKDSK from Command Prompt or through the graphical interface in File Explorer. Running it via Command Prompt gives you more control and is often recommended for comprehensive checks.
Method 1: Using Command Prompt (Recommended for Deeper Checks)
- Open Command Prompt as Administrator (follow the same steps as for SFC).
- Type the following command and press Enter:
chkdsk C: /f /r
Let’s break down this command:
chkdsk: The command itself.C:: This specifies the drive you want to check. You can replaceC:with another drive letter (e.g.,D:) if you want to check a different partition./f: This parameter tells CHKDSK to fix errors it finds on the disk./r: This parameter tells CHKDSK to locate bad sectors and attempt to recover readable information from them. The/roption implies/f, so you don’t need to include both if you use/r.
Important Note about Running CHKDSK on the System Drive (C:)
If you run CHKDSK on your system drive (usually C:) while Windows is running, it won’t be able to perform the scan and fix operations immediately because Windows needs exclusive access to the drive. Instead, it will ask you if you want to schedule the scan to run the next time the system restarts.
You will typically see a message like: “Chkdsk cannot run because the volume is in use by another process. Would you like to schedule this volume to be checked the next time the system restarts? (Y/N)”
Type Y and press Enter. Then, restart your computer. CHKDSK will run automatically before Windows loads, and it can take a considerable amount of time, so be prepared to wait.
Method 2: Using File Explorer (Simpler, Less Intensive Scan)
This method is quicker for routine checks but may not perform as deep a scan as the command-line version with /r.
- Open File Explorer by clicking the folder icon on your taskbar or pressing Windows key + E.
- In the left-hand pane, click on “This PC”.
- Right-click on the drive you want to check (e.g., Local Disk (C:)).
- Select Properties.
- In the Properties window, go to the Tools tab.
- Under “Error checking,” click the Check button.
- You may see a message saying “You don’t need to scan this drive” if Windows thinks it’s okay. To force a scan, click “Scan drive”.
- If any errors are found, Windows will prompt you to fix them. If it’s the system drive, it will likely prompt you to schedule the scan for the next restart.
Running CHKDSK, especially with the /f /r parameters, is a vital step in maintaining the health of your storage devices. It’s a good practice to perform a CHKDSK scan periodically, perhaps once every few months, or if you suspect hard drive-related issues.
Other Useful Tools and Tips for Checking Windows 10 Errors
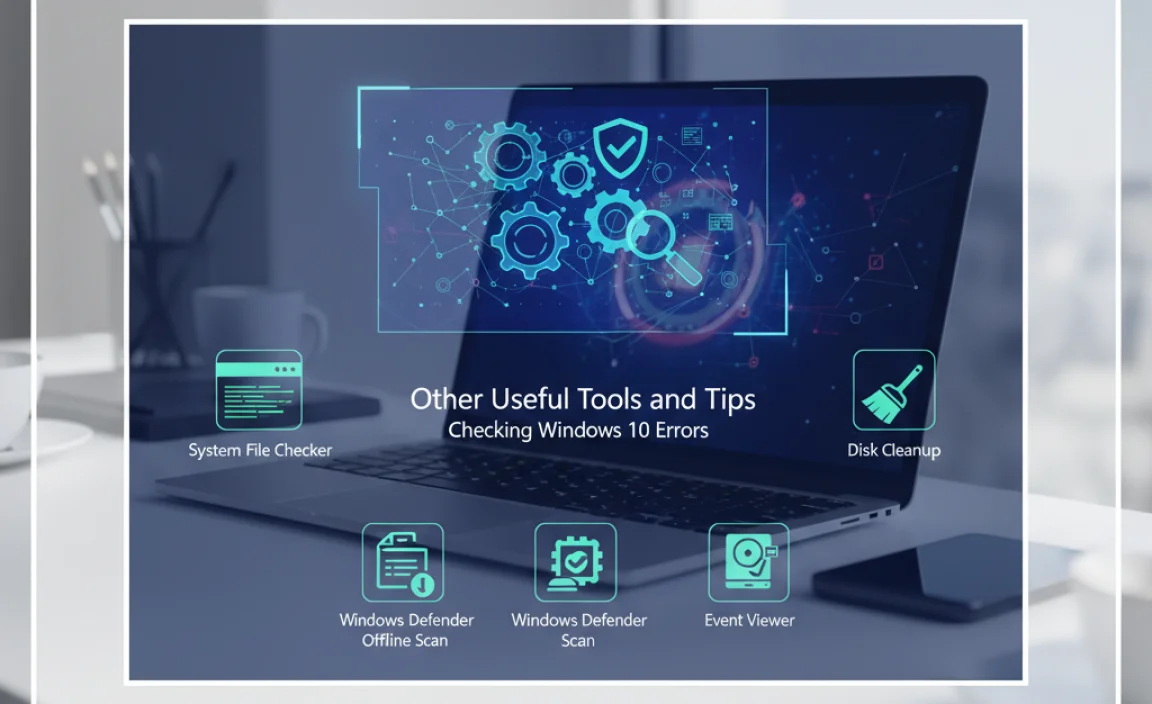
Beyond SFC and CHKDSK, Windows 10 offers other features that can help you diagnose and fix issues. Understanding these can give you a more comprehensive approach to PC maintenance.
1. Event Viewer
The Event Viewer is a powerful diagnostic tool that logs system events, including errors, warnings, and informational messages. It can provide detailed information about what went wrong, when it happened, and which application or component was involved. While it can seem complex at first, it’s invaluable for pinpointing the root cause of recurring problems.
How to Access Event Viewer:
- Press Windows key + R to open the Run dialog box.
- Type eventvwr.msc and press Enter.
- In the Event Viewer window, navigate through the left pane, looking under “Windows Logs” for “Application” and “System.”
- Clicking on these will show a list of events in the center pane. Look for entries marked with a red ‘X’ (Errors) or a yellow triangle (Warnings).
- Double-clicking an event will provide detailed information in a new window.
While Event Viewer doesn’t “fix” errors itself, it tells you what errors are occurring, which then helps you search for specific solutions or run the appropriate repair tools.
2. Reliability Monitor
The Reliability Monitor provides a visual timeline of your computer’s stability, showing critical events like application failures, Windows failures, and updates. It’s a much more user-friendly way to see patterns of problems than the Event Viewer.
How to Access Reliability Monitor:
- Press Windows key + R.
- Type perfmon /rel and press Enter.
- You’ll see a graph showing your PC’s stability over weeks or months. Look for dips in the graph, which indicate issues. Click on a specific date to see the events that occurred.
This tool is excellent for identifying when a problem started and what might have caused it, guiding your troubleshooting efforts.
3. Windows Update Troubleshooter
Sometimes, issues arise specifically because Windows Update isn’t functioning correctly. Microsoft provides a built-in troubleshooter to help diagnose and fix these problems.
How to Run the Windows Update Troubleshooter:
- Go to Settings (Windows key + I).
- Click on Update & Security.
- Select Troubleshoot from the left-hand menu.
- Click on “Additional troubleshooters”.
- Find and click on “Windows Update”, then click “Run the troubleshooter”.
- Follow the on-screen prompts.
4. Device Manager
As mentioned, driver issues can cause many problems. Device Manager is where you can see all the hardware connected to your PC and check the status of their drivers.
How to Access Device Manager:
- Right-click the Start button and select Device Manager.
- Look for any devices with a yellow exclamation mark next to them. This indicates a problem with that device’s driver.
- You can right-click on a device to “Update driver”, “Disable device”, or “Uninstall device” (which usually prompts Windows to reinstall it upon restart).
A Comparison of Error Checking Methods
To help you choose the right tool, here’s a quick comparison:
| Tool | Primary Focus | What it Fixes | User Friendliness | When to Use |
|---|---|---|---|---|
| System File Checker (SFC) | Windows System Files | Corrupted, missing, or incorrect system files. | Moderate (requires Command Prompt) | When experiencing system instability, application crashes, or errors related to Windows files after malware or improper shutdowns. |
| Deployment Image Servicing and Management (DISM) | Windows Component Store | Corrupted Windows image files; prepares the system for SFC. | Moderate-to-Difficult (requires Command Prompt) | When SFC fails to repair files or if you suspect deeper corruption in Windows update components. Always run before SFC if problems persist. |
| Check Disk (CHKDSK) | Hard Drive & File System | File system errors, bad sectors, logical errors on the drive. | Moderate (Command Prompt) to Easy (File Explorer) | When experiencing slow disk performance, file corruption, read/write errors, or if you suspect potential drive failure. Essential for drive health. |
| Event Viewer | System & Application Logs | Doesn’t fix errors directly; diagnoses the cause of errors. | Difficult (requires understanding logs) | When specific error messages appear, or for deep troubleshooting of recurring issues. |
| Reliability Monitor | System Stability Timeline | Doesn’t fix errors directly; shows patterns and causes of failures. | Easy | To get a quick overview of system stability and identify when problems started or what might be related. |
Proactive Maintenance for a Stable Windows 10
Fixing errors is crucial, but preventing them in the first place is even better! Here are some tips for maintaining a healthy Windows 10 PC:
- Keep Windows Updated: Regularly install Windows updates. They often contain security patches and bug fixes that can prevent issues. Go to Settings > Update & Security > Windows Update.
- Update Drivers: While Windows Update often handles drivers, sometimes it’s beneficial to get the latest drivers directly from the manufacturer’s website (e.g., NVIDIA, AMD, Intel for graphics; your laptop manufacturer for chipset drivers). Be cautious and only download from official sources.
- Use Antivirus Software: A reputable antivirus program can prevent malware from corrupting your system files. For more on security, check out CISA’s basic cybersecurity tips.
- Shut Down Properly: Avoid forcibly shutting down your PC whenever possible. Use the Start menu’s power options to Shut down, Restart, or Sleep your computer.
- Be Careful with Software Installations: Only install software from trusted sources. Be wary of bundled software or potentially unwanted programs (PUPs) that may install alongside legitimate applications.
- Regular Backups: While not a fix, having regular backups of your important data is a lifesaver if a severe error or hardware failure occurs.
Troubleshooting Common Error Scenarios
Let’s say you run SFC and it says it found errors but couldn’t fix them. What next?
Scenario: SFC reports unfixable errors
As we discussed, your first step is to run the DISM tool:
- Open Command Prompt as Administrator.
- Run:
DISM /Online /Cleanup-Image /RestoreHealth - Restart your PC.
- Run
sfc /scannowagain.
If DISM/SFC still reports issues, it might indicate a more serious problem with your Windows installation. In such cases, consider using Windows’ built-in “Reset this PC” feature (found in Settings > Update & Security > Recovery), which can reinstall Windows while keeping your files and apps, or a clean installation.
Scenario: CHKDSK finds bad sectors
If CHKDSK reports finding bad sectors, it means parts of your disk are physically failing. The /r parameter tries to recover data from these sectors. However, it’s a sign that your hard drive or SSD may be nearing the end of its life. It’s a strong signal to back up your important data immediately and plan for a replacement drive as soon as possible.
Frequently Asked Questions (FAQ)
What is the fastest way to check for errors in Windows 10?
For a quick check, you can use the File Explorer method for CHKDSK (right-click drive > Properties > Tools > Check). For system file errors, running sfc /scannow in Command Prompt is usually quite efficient.
How often should I run these checks?
It’s good practice to run SFC and CHKDSK periodically, perhaps once every 1-3 months, or if you notice any performance issues or system instability. Proactive checks can prevent bigger problems.
Can running these commands damage my computer?
No, the SFC and CHKDSK commands are designed by Microsoft to be safe. They are diagnostic and repair tools. Running them is generally beneficial for your system’s health.
My computer is very slow. Will checking for errors help?
Yes, disk errors (checked with CHKDSK) or corrupted system files (checked with SFC) are common causes of a slow computer. Running these tools can often improve performance.
What if SFC or CHKDSK finds errors on a drive that doesn’t start Windows?
If these errors occur on your main system drive and prevent Windows from booting, you might need to boot from Windows installation media (a USB drive or DVD) to run these tools from the recovery environment, or use advanced repair options.
Do I need to be a tech expert to use these tools?
Not at all! This guide breaks down each step into simple, easy-to-follow instructions. With a little patience, anyone can use these tools to keep their Windows 10 PC running smoothly and safely.
Conclusion
Keeping Windows 10 running at its best doesn’t have to be a mystery. By understanding and regularly using essential tools like the System File Checker (SFC) and Check Disk (CHKDSK), you can proactively find and fix many common errors that plague computer performance and stability. These built-in utilities are your allies in maintaining a healthy and reliable system, ensuring that your PC performs as it should without constant frustration.
Remember, a little bit of regular maintenance goes a long way. By performing these checks, you’re not just fixing problems; you’re building confidence in your ability to manage your own technology and keeping your digital life running smoothly and securely. So, take a few minutes to run these checks, and give your Windows 10 PC the care it deserves. You’ve got this!
