
Did you know that the first CD was invented over 40 years ago? Now, in the age of Windows 11, burning CDs might sound like an old-school trick. Yet, it’s still useful! Imagine making a mix of your favorite songs to share with a friend, or backing up your important files. You can do this with a CD burner for Windows 11.
Think about it: what happens when your computer runs out of space? Or if you just want to hear music on a CD player? A CD burner makes these simple. It’s a tool for many jobs, and using it on Windows 11 is a breeze. In just a few steps, your files move to that shiny disc. Amazing, right?
Let’s dive into how CD burning works with Windows 11. You’ll see it’s easy to learn, no matter your age. Remember, new tech like Windows 11 makes these tasks fun and simple! Ready to start your CD burning journey?
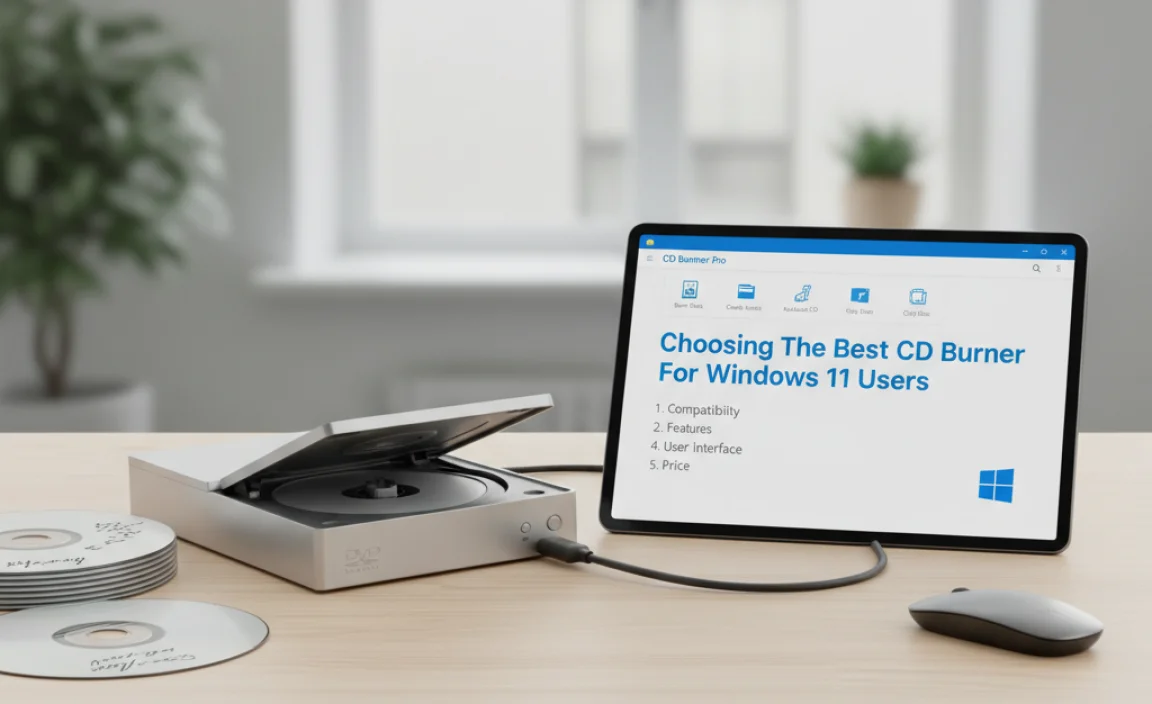
Choosing The Best Cd Burner For Windows 11 Users
Imagine creating your own music mix on a CD. With a CD burner for Windows 11, you can do just that. It’s like turning your computer into a personal jukebox. These tools let you copy songs, videos, or files onto a CD. Whether you’re making gifts or saving memories, it’s easy and fun. Even better, Windows 11’s sleek design makes burning CDs a breeze. Ready to dive into CD adventures?
Top Features to Look for in a CD Burner for Windows 11
Importance of userfriendly interface. Compatibility with various file formats. Speed and efficiency of burning processes.
Choosing the right CD burner for Windows 11 can feel like deciding between a cat and a dog; both are great, but you want the one that suits you! First, make sure it has a user-friendly interface. Imagine pressing buttons like a cupcake; it should be easy and fun, not a brain teaser. Next, check if it’s compatible with various file formats. It should handle everything from mysterious MP3s to the even more mysterious WAV files. Efficiency is key too—nobody wants to wait for a CD to burn longer than it takes to bake a pie. Speedy burners are like magical wands for your computer.
| Feature | Why It’s Important |
|---|---|
| User-Friendly Interface | Easy like playing a game, no magic spells needed! |
| File Format Compatibility | Plays well with all your favorite music tracks. |
| Burning Speed and Efficiency | Faster than your grandma’s knitting needles! |
There you have it! These features make your CD burning experience smoother. “A burning drive, like a burning ambition, should always be ready to go!” Embrace these features and you’ll be spinning CDs like a pro in no time!
Comparison of Popular CD Burner Software for Windows 11
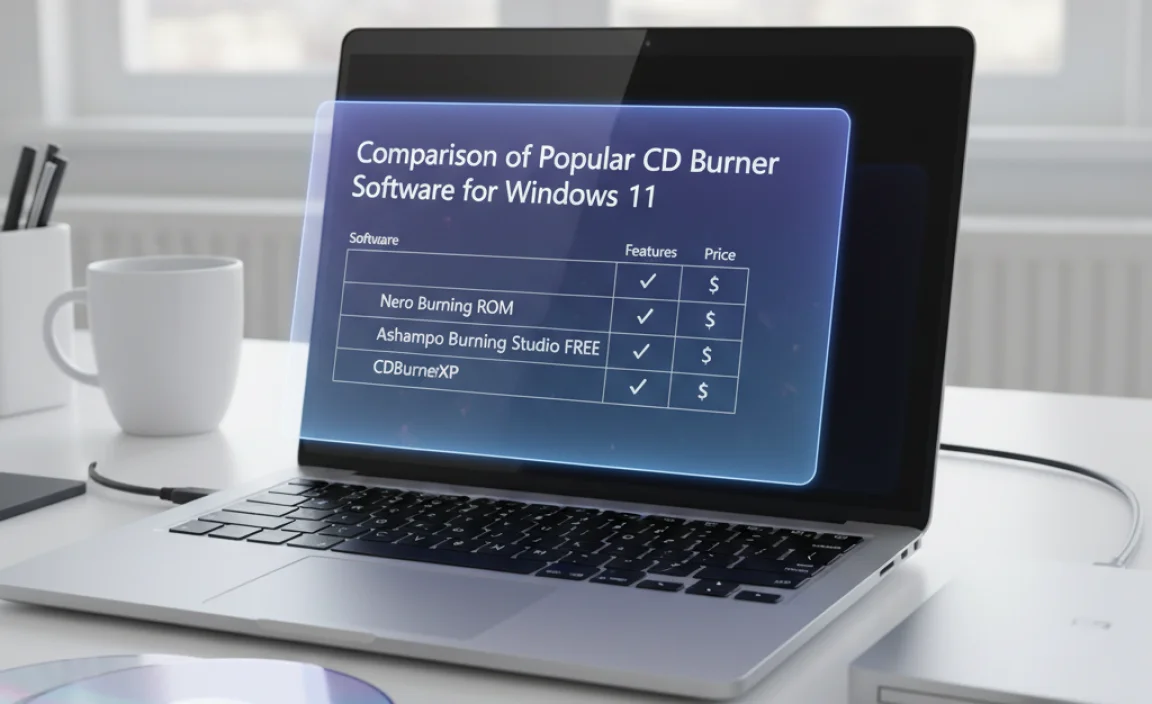
Detailed comparison of Nero Burning ROM, Ashampoo Burning Studio, and ImgBurn. Pros and cons of each software option.
When it comes to burning CDs on Windows 11, picking the right software is key. Today, we’re looking at three big names: Nero Burning ROM, Ashampoo Burning Studio, and ImgBurn. Nero Burning ROM is a classic, known for its reliability and speed, but it can be a bit pricey. Ashampoo Burning Studio offers a more budget-friendly option with an easy-to-use interface, but some say it lacks advanced features. Meanwhile, ImgBurn is free and lightweight but doesn’t offer much support. In simple terms, Nero is like a fancy sports car, Ashampoo is your reliable sedan, and ImgBurn is the nifty bicycle of CD burners!
| Software | Pros | Cons |
|---|---|---|
| Nero Burning ROM | Fast, Reliable | Expensive |
| Ashampoo Burning Studio | Budget-friendly, Easy to use | Limited advanced features |
| ImgBurn | Free, Lightweight | Lacks support |
Step-by-Step Guide to Using a CD Burner on Windows 11

Initial setup and installation procedures. How to burn a CD: stepbystep instructions.
Burning a CD on Windows 11 can be as thrilling as finding a hidden Easter egg in your favorite game! Let’s dive right in. Begin by ensuring your computer has a CD burner already installed. Now, insert a blank CD into the drive. A pop-up will ask how you want to use this disc. Choose “Burn files.” Next, open File Explorer. Pick the files you want to burn. Drag them to the CD drive. For the final touch, select “Burn to disk.” Voilà! Your CD is ready to roll.
| Step | Action |
|---|---|
| 1 | Check CD burner installation |
| 2 | Insert blank CD |
| 3 | Select “Burn files” |
| 4 | Open File Explorer |
| 5 | Drag files to CD drive |
| 6 | Click “Burn to disk” |
Quick tip: Don’t panic if the burning process takes some time. Good things come to those who wait, like cheese or friendship! If you encounter issues, try again or check for software updates. According to tech guru Tom, “Using Windows 11, burning a CD is as simple as pie!” Remember, practice makes perfect, so keep experimenting. Happy burning!
Troubleshooting Common CD Burning Issues on Windows 11
Common errors encountered during CD burning. Solutions and tips for resolving frequent problems.
Burning CDs on Windows 11 can be as unpredictable as a cat in a bathtub. Sometimes, the process might throw some curveballs your way. Common errors? You might see messages like “Disc Not Recognized” or experience files not burning correctly. No need to panic! There are quick fixes: try a new disc, ensure your drive is clean, or update your burning software. If life gives you lemons, make a lemonade CD with these simple solutions!
| Error | Possible Solution |
|---|---|
| Disc Not Recognized | Check if the disc is clean and scratch-free |
| Files not burning | Update your burning software or try different software |
| Slow burning speed | Close other programs for better performance |
Tips for Optimizing CD Burning Performance on Windows 11
Best practices for ensuring highquality burns. Maintenance and care for CD burners and discs.
Do you want smooth CD burning on Windows 11? Let’s make it happen! Here are some tips:
- Pick a high-quality CD burner; it produces clearer sounds.
- Keep the burner and discs clean, free from dust.
- Enable “Buffer Underflow Protection” to prevent data loss.
- Burn discs at lower speeds for the best quality.
- Store burned CDs in a cool, safe place away from light.
These steps will help your CDs last longer and sound better.
How can I improve CD burning quality on Windows 11?
Use a good quality burner and slow down the burn speed. These actions give clearer, more reliable results.
Security and Data Management When Burning CDs on Windows 11
Ensuring data integrity and protection during burning. Best practices for data management and backup.
Burning CDs on Windows 11 can be as thrilling as baking cookies without burning the edges! To keep your data safe, ensure data integrity by double-checking your files before burning. No one likes a broken CD filled with half-cooked songs and pieces of documents. Regular backups are your best friends—think of them as insurance for your data. Store copies elsewhere, like a cool grandma with extra cookies in the freezer.
For best practices:
| Step | Tip |
|---|---|
| 1 | Verify files before burning. |
| 2 | Use quality discs. |
| 3 | Keep backup copies. |
Remember, a little care in the start saves you from data disasters. As the wise old saying goes, “Don’t put all your eggs in one burnt CD!”
Frequently Asked Questions About CD Burners on Windows 11
Addressing common queries and concerns. Useful resources for further assistance.
Can I use CD burners on Windows 11?
Yes, CD burners work on Windows 11. Select a compatible app. Ensure your CD or DVD drive is connected. Then, start burning your files.
What should I do if the CD burner is not recognized?
First, check if the CD burner is connected. Next, update the drivers. If this doesn’t work, look for help online.
Help Resources
- Online forums for troubleshooting tips.
- Device manuals for setup help.
- Customer support for technical assistance.
Windows 11 offers helpful guides too. Find them in the settings or help section.
Conclusion
In conclusion, using a CD burner on Windows 11 is easy and helpful. It lets you save files on CDs quickly. You just need reliable software and a CD drive. To learn more, try exploring guides or tutorials online. Start creating your own CDs and enjoy sharing music, photos, or projects easily.
FAQs
What Are The Best Cd Burner Software Options Available For Windows 11?
Sure! Some of the best CD burner software options for Windows 11 are free and easy to use. You can try Ashampoo Burning Studio, which is great for music, video, and data. Another option is CDBurnerXP. It can also burn DVDs. Both are good choices for making your own CDs.
How Do I Burn A Cd Using The Built-In Utility In Windows 11?
To burn a CD, first, put a blank CD into the computer’s CD drive. Open “File Explorer” by clicking the folder icon. Find the files you want on the CD and select them. Click “Share” at the top, then choose “Burn to disc.” Follow the steps to finish putting your files on the CD.
Are There Any Free Cd Burning Tools Compatible With Windows 11?
Yes, there are free CD burning tools you can use with Windows 11. One popular tool is BurnAware Free, which is easy to use. Another option is CDBurnerXP, despite its name, it works on Windows 11 too. These tools help you put music, videos, or files onto a CD for free.
What Are The System Requirements For Running Cd Burner Software On Windows 11?
To use CD burner software on Windows 11, your computer needs a few things. First, you need Windows 11 as your operating system. Your computer should have at least 4 gigabytes (GB) of memory or RAM, which helps it run better. You also need a CD/DVD drive, which is where the discs go. Finally, make sure you have enough space to store your files.
How Can I Troubleshoot Common Issues When Burning Cds On Windows 11?
Sure! First, make sure your CD is clean and without scratches. Use a soft cloth to wipe it gently. Next, check that your computer recognizes the CD drive. If it doesn’t, restart your computer and try again. You can also update your computer’s software by clicking “Settings” and then “Windows Update.” Finally, make sure you have blank CDs and enough space for your files. If it still doesn’t work, ask a grown-up for help!