Broadcom scanner Ubuntu driver: latest & easy installation is a common pursuit for Linux users who find their hardware isn’t immediately recognized.
While many devices plug-and-play seamlessly within Ubuntu, printers and scanners, particularly those from Broadcom, can sometimes present a minor challenge. However, with the right steps and a bit of patience, getting your Broadcom scanner to work on Ubuntu can be a surprisingly straightforward process, even without the original CD that often comes bundled but quickly becomes obsolete.
The good news is that the Ubuntu community and extensive open-source driver development have made significant strides in ensuring broad hardware compatibility. For Broadcom scanners, this often translates to leveraging existing Linux kernel modules or community-developed drivers that have been refined over time. The key is to identify the specific model of your Broadcom scanner and then follow a systematic approach to install the necessary software.
Identifying Your Broadcom Scanner Model
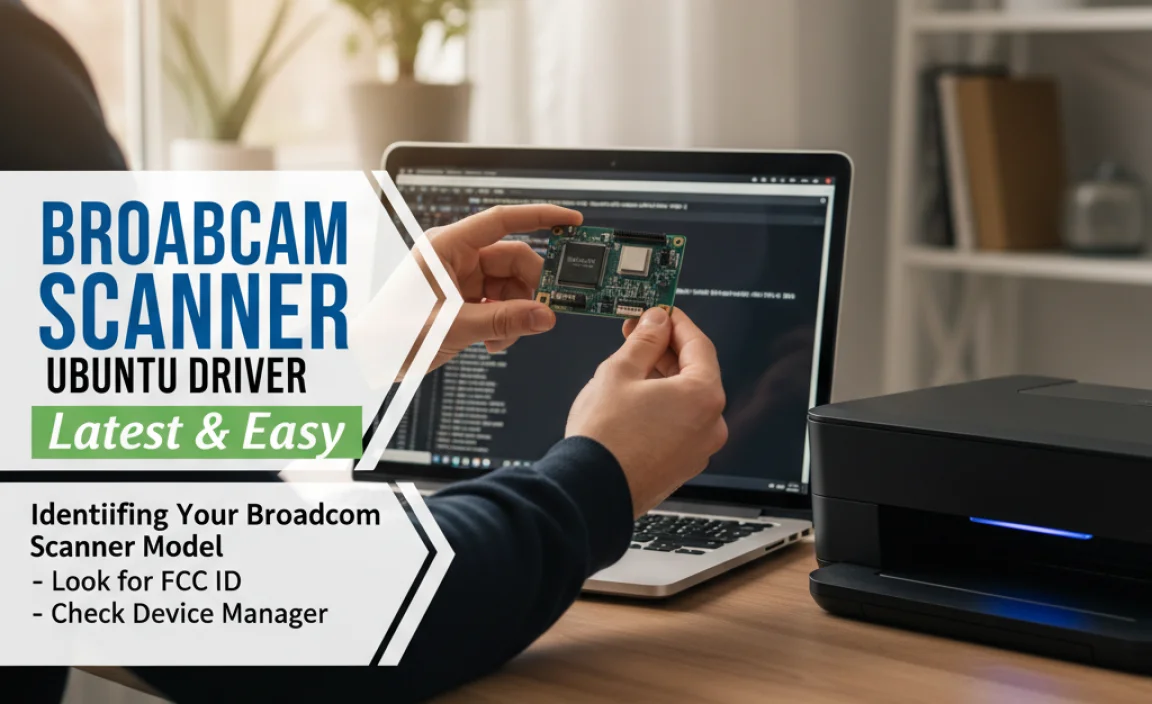
Before diving into driver installation, pinpointing the exact model of your Broadcom scanner is crucial. Often, the model name is clearly printed on the scanner itself. This information will be invaluable when searching for specific driver instructions or troubleshooting guides.
Once you have the model number, you can often find this information within Ubuntu itself, even if the scanner isn’t fully functional. Open a terminal window (Ctrl+Alt+T) and type the following command:
“`bash
lsusb
“`
This command lists all USB devices connected to your system. Look for an entry that mentions “Broadcom” or a device name associated with a scanner. The output will provide vendor and product IDs, which can be incredibly useful for searching online resources like the Ubuntu Wiki or forums for compatibility information.
The “Broadcom Scanner Latest Driver for Ubuntu Without CD” Solution
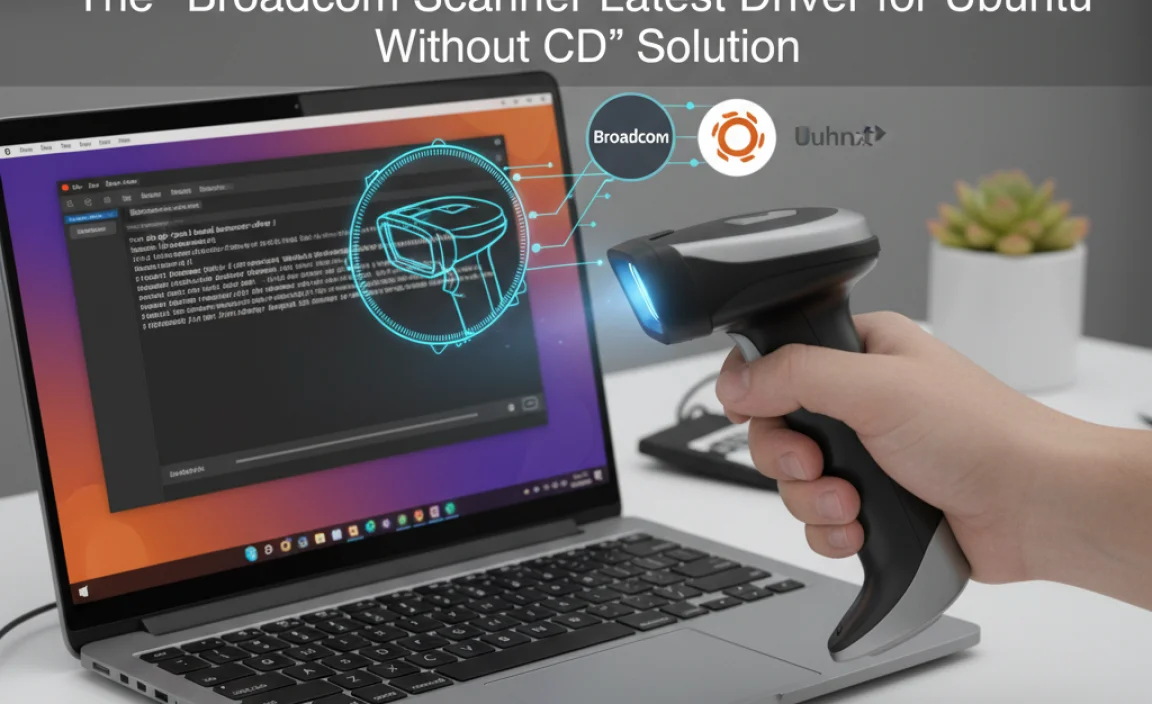
The most common and recommended way to get your Broadcom scanner working on Ubuntu without a CD involves utilizing Ubuntu’s powerful package management system and often, community-maintained drivers. The archaic method of using a CD is largely a relic of the past, especially for open-source operating systems that thrive on readily available, up-to-date repositories.
Here’s a breakdown of the typical process:
Step 1: Update Your Package Lists
It’s always best practice to ensure your system’s package lists are up-to-date before installing new software. Open a terminal and run:
“`bash
sudo apt update
“`
This command fetches the latest information about available packages from your configured software sources.
Step 2: Install Essential Scanning Utilities
Ubuntu relies on specific software packages to handle scanning operations. The most common set is `sane` (Scanner Access Now Easy) and its associated utilities. Install them with:
“`bash
sudo apt install sane sane-utils libsane-common
“`
`sane` is an API that provides a standardized interface for scanning devices, and `sane-utils` offers command-line tools for testing and basic scanning.
Step 3: Searching for Your Broadcom Scanner Driver
This is often the most critical step. While generic `sane` support might work for some scanners, specific Broadcom models might require a dedicated driver. Ubuntu’s repositories often house these. You can try searching for packages related to your scanner model or Broadcom:
“`bash
apt search broadcom scanner
apt search libsane
“`
Look for packages that seem relevant to your scanner model. If you found your scanner in the `lsusb` output, try searching using its vendor or product ID alongside “sane”.
Step 4: Install the Specific Driver (If Found)
If you identify a specific driver package (e.g., `libsane-xxx` where `xxx` is related to your scanner or Broadcom), install it using `apt`:
“`bash
sudo apt install
“`
Replace “ with the actual name of the package you found.
Step 5: Re-configure SANE
After installing a new driver, it’s often necessary to reconfigure `sane` to recognize the new hardware. You can often force `sane` to re-detect devices by running:
“`bash
sudo dpkg-reconfigure -f noninteractive sane-utils
“`
This command helps `sane` discover and load the appropriate drivers for newly connected or installed scanning hardware.
Step 6: Test Your Scanner
Now it’s time to test if everything is working. You can use a simple command-line tool like `scanimage` or a graphical scanner application.
To test with `scanimage` (from the terminal):
“`bash
scanimage -L
“`
This command should list your detected scanners. If your Broadcom scanner appears, you’re on the right track. You can then try to acquire an image:
“`bash
scanimage > test.pnm
“`
This command will attempt to scan an image and save it as `test.pnm`. You can then open this file with an image viewer.
For a more user-friendly experience, install a graphical scanning application like `xsane` or `simple-scan`:
“`bash
sudo apt install xsane
or
sudo apt install simple-scan
“`
Open the chosen application, and it should detect your connected scanner. You can then proceed with scanning.
When Direct Repository Installation Fails

In rare cases, your specific Broadcom scanner model might not have a readily available driver in the standard Ubuntu repositories. This is where community effort truly shines.
Unofficially Supported Drivers
Sometimes, developers create and maintain drivers outside of the official Ubuntu channels. These are often found through web searches for your specific scanner model and “Ubuntu driver,” frequently leading to forum posts or personal GitHub repositories.
Crucially, when downloading drivers or installation scripts from unofficial sources, exercise caution. Ensure the source is reputable and that you understand what the script is doing before running it with `sudo`.
The general process for unofficial drivers often involves:
1. Downloading: Obtaining the driver files or installation script.
2. Compiling (if necessary): Some drivers might need to be compiled from source code, which requires development tools. You can install these with `sudo apt install build-essential`.
3. Installing: Following the provided instructions, which might involve commands like `sudo make install` or running a custom script.
4. Configuring: Similar to official drivers, you might need to manually update `sane` configuration files or reload services.
Broadcom’s Own Linux Drivers (Less Common for Scanners)
While Broadcom is a major hardware manufacturer, they are more known for network chips and processors. Dedicated Linux scanner drivers from Broadcom themselves are less common than for other hardware components. If you can find official Linux drivers directly from Broadcom’s website, always prioritize those if instructed to install them manually. However, for scanners, relying on the open-source community’s efforts via Ubuntu’s repositories is usually the most successful route.
Troubleshooting Common Issues

Scanner Not Detected: Double-check USB connections. Try a different USB port. Ensure the scanner is powered on. Run `lsusb` again in the terminal to confirm it’s recognized at some level.
Permissions Errors: Sometimes, user permissions can prevent scanning. Ensure your user is part of the `scanner` group: `sudo usermod -a -G scanner $USER`. Log out and log back in for the changes to take effect.
Outdated Drivers: If you installed a driver a while ago, ensure it’s still compatible with your current Ubuntu version. Running `sudo apt update && sudo apt upgrade` can sometimes update existing drivers.
Firewall/Security Software: While less common for local hardware, ensure no overly aggressive security software is blocking communication with the scanner.
In conclusion, obtaining a working Broadcom scanner driver for Ubuntu without a CD is achievable by leveraging Ubuntu’s robust package management and the active Linux community.
Start with updating your system, installing core scanning utilities, and then searching for specific drivers within the repositories. With a little systematic effort, you can have your Broadcom scanner up and running smoothly on your Ubuntu desktop.