
Broadcom Ethernet Ubuntu: Essential Fix
If your Broadcom Ethernet isn’t working on Ubuntu, this guide provides a straightforward, step-by-step solution to install the correct driver manually. We’ll get your network connection back up and running, so you can browse and download with confidence.
Ever found yourself staring at your Ubuntu screen, ready to dive online, only to realize your Ethernet connection is dead? It’s a frustrating moment, especially when you know you’ve got a Broadcom network card. This often happens after an Ubuntu update or a fresh installation, leaving you without a crucial link to the internet. Don’t worry, it’s a common hiccup, and with a few simple steps, we can get your Broadcom Ethernet adapter recognized and working perfectly again. We’ll guide you through finding the right driver and installing it, making this tech puzzle solvable for anyone.
This guide is designed to be your friendly roadmap. We’ll break down everything needed to get your Broadcom Ethernet up and running on Ubuntu without any confusing tech talk. We’ll explore why this issue pops up and how to solve it confidently, ensuring you’re back online in no time.
Why Does Broadcom Ethernet Sometimes Go Missing on Ubuntu?
It’s a question many Ubuntu users ask: why does my network adapter suddenly stop working? Often, the culprit is a driver issue. Drivers are like translators between your hardware (your Ethernet card) and your operating system (Ubuntu). Sometimes, the default driver Ubuntu uses might not be perfect for all Broadcom chipsets, or a recent system update might have overwritten or uninstalled the correct driver.
Broadcom is a popular brand for network hardware, found in many laptops and motherboards. While Ubuntu generally has excellent hardware support, certain older or less common Broadcom Ethernet chips can be a little tricky. This can lead to the system not recognizing the hardware, and therefore, no internet connection. The good news is this is usually a fixable problem!
Identifying Your Broadcom Ethernet Adapter
Before we can fix it, we need to know exactly what hardware we’re dealing with. This first step is crucial because different Broadcom chips need slightly different drivers. Think of it like needing the right key for a specific lock.
Here’s how to find out which Broadcom Ethernet adapter your Ubuntu system is using:
- Open the Terminal: You can usually find the terminal by searching for “Terminal” in your Ubuntu applications menu, or by pressing
Ctrl + Alt + Ton your keyboard. - Run the PCI command: Type the following command into the terminal and press Enter:
lspci -knn | grep -iA2 net
This command does a few things:
lspci: Lists all PCI devices on your system.-knn: Shows kernel drivers in use and the PCI ID.| grep -iA2 net: Filters the output to show lines containing “net” (short for network), along with two lines after it. The-imakes the search case-insensitive.
You’ll see output similar to this:
03:00.0 Ethernet controller [0200]: Broadcom Corporation Broadcom NetXtreme BCM5761 Gigabit Ethernet PCIe [14e4:1677] (rev 10)

    Subsystem: Dell Device [1028:04db]

    Kernel driver in use: tg3

    Kernel modules: tg3
Look for lines that mention “Broadcom Corporation” and “Ethernet controller”. The key pieces of information are the chipset name (e.g., BCM5761) and the hardware ID in brackets (e.g., [14e4:1677]). Note this down; it might be helpful later.
The Problem: Missing or Incorrect Driver
The output from the lspci command can also tell us if a driver is already loaded. In the example above, Kernel driver in use: tg3 tells us that the tg3 driver is being used. If you see something like “no driver” or a driver that doesn’t seem to be working, that’s our clue.
Sometimes, the default driver (like tg3) might be present but not fully compatible, leading to connection issues. Other times, the specific Broadcom chip might require proprietary drivers that aren’t included by default in Ubuntu for licensing reasons. This is where manual installation comes in.
Solution: Installing the Broadcom Ethernet Driver

When the system doesn’t automatically recognize your Broadcom Ethernet adapter or the default driver isn’t working, the best approach is often to manually install a more suitable driver. We’ll be looking for a driver that’s known to work well with your specific Broadcom chipset.
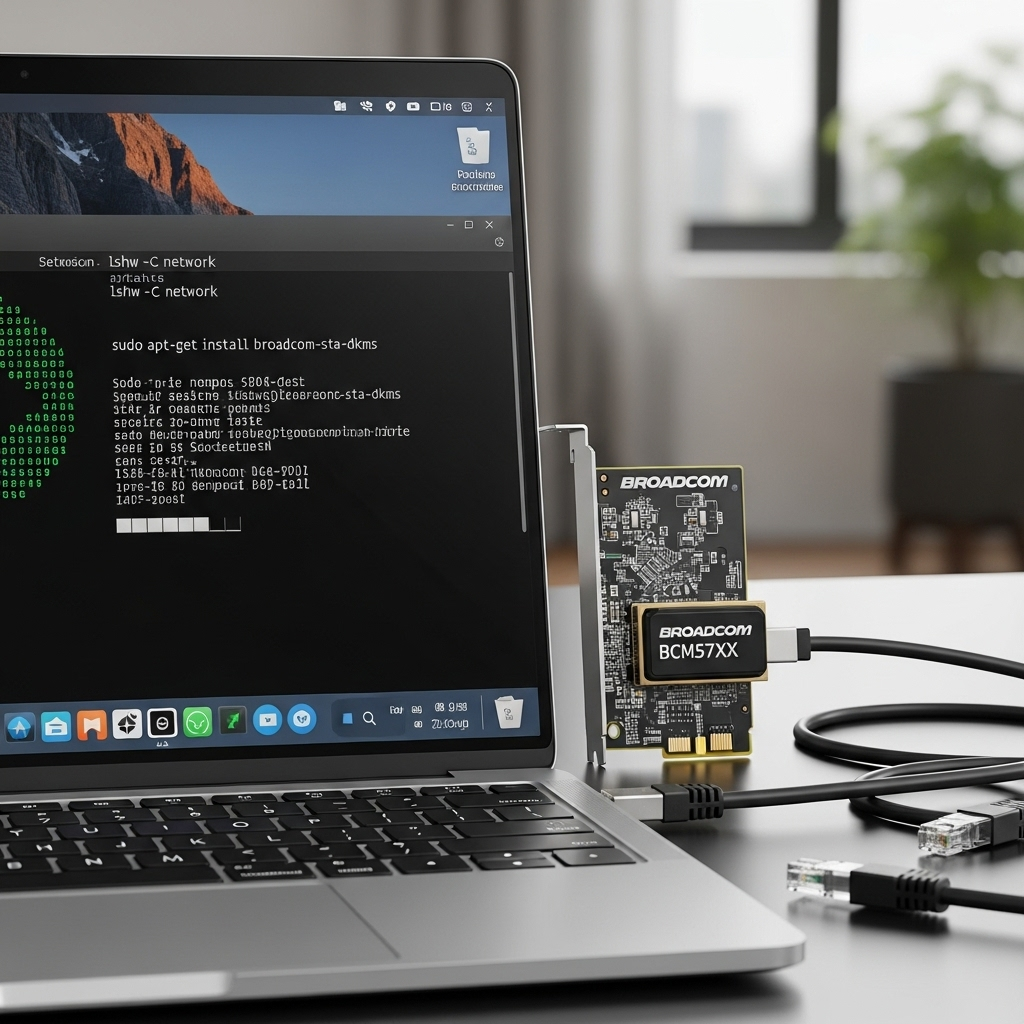
One of the most common and reliable drivers for many Broadcom Gigabit Ethernet controllers is from the broadcom-sta-dkms package. This package contains the source code for the Broadcom wired Ethernet drivers and builds them for your specific kernel version using DKMS (Dynamic Kernel Module Support). This means it will automatically rebuild itself if you update your kernel, saving you future headaches.
Step 1: Connect to the Internet (Workaround)
This might seem like a Catch-22: you need an internet connection to download the driver, but your Ethernet isn’t working! Here are a few ways to get online temporarily:
- Use a USB Wi-Fi adapter: If you have one, plug it in. Ubuntu should recognize most standard Wi-Fi adapters and allow you to connect to your network.
- USB Tethering from your Phone: Connect your smartphone to your Ubuntu machine via USB. On your phone, look for a “Tethering” or “Hotspot” setting and enable “USB tethering”. Your Ubuntu system should recognize your phone as a network connection.
- Another Ethernet port or cable: If you have a second Ethernet port on your computer or a friend’s computer you can use, try that.
- Public Wi-Fi/Coffee Shop: If all else fails, take your laptop to a place with free Wi-Fi and download the necessary files beforehand.
Once you have a working internet connection, proceed to the next steps.
Step 2: Update Your System
It’s always a good idea to make sure your system is up-to-date before installing new drivers. This also helps ensure you have the latest package lists.
- Open the Terminal: If it’s not already open, press
Ctrl + Alt + T. - Run the update commands: Type the following commands, pressing Enter after each one. You’ll be asked for your password after the first command.
sudo apt update
sudo apt upgrade -y
sudo apt update refreshes the list of available packages. sudo apt upgrade -y installs any available updates. The -y flag automatically answers “yes” to prompts.
Step 3: Install the `broadcom-sta-dkms` Package
Now we’ll install the driver package that often resolves Broadcom Ethernet issues on Ubuntu.
- Open the Terminal: If it’s not already running, press
Ctrl + Alt + T. - Install the driver: Type the following command and press Enter. You’ll need your password again.
sudo apt install broadcom-sta-dkms firmware-b43-installer -y
This single command installs two potentially useful packages:
broadcom-sta-dkms: Contains the source for Broadcom’s wired Ethernet drivers, which will be compiled for your kernel.firmware-b43-installer: This is for Broadcom Wi-Fi cards, but it’s often bundled in troubleshooting steps for Broadcom hardware in general, and it might be needed if your system has a mixed setup or if the Ethernet issue is related to a broader Broadcom driver problem.
The installation process will take a few minutes as it downloads the packages and compiles the kernel modules. You’ll see a lot of text scrolling in the terminal.
Step 4: Reboot Your System
After the installation is complete, it’s essential to restart your computer for the new drivers to be loaded correctly.
- Restart Ubuntu: You can do this by clicking the power icon in the top-right corner of your screen and selecting “Restart,” or by typing the following command in the terminal:
sudo reboot
Step 5: Check Your Ethernet Connection
Once your computer restarts, hopefully, your Broadcom Ethernet adapter will be recognized and working. You should see a network connection icon in your system tray, and you’ll be able to connect to your wired network.
If it’s working, congratulations! You’ve successfully fixed your Broadcom Ethernet issue.
Troubleshooting Further Issues
If your Ethernet connection is still not working after the steps above, don’t get discouraged! Here are a few more things to try:
Check Network Manager Settings
Sometimes, even with the correct driver, network management settings might prevent a connection.
- Click on the network icon in your system tray.
- Look for “Wired” or “Ethernet connection.”
- Ensure it’s enabled. You might be able to toggle it on or off.
- If there’s an option to “Edit” or “Configure” the connection, check that the IP address settings are set to automatic (DHCP) unless you have a specific reason for static IP.
Blacklisting Conflicting Drivers
In rare cases, another driver might be trying to control your Broadcom adapter and causing a conflict. The tg3 driver is often the default, and sometimes disabling it helps the `broadcom-sta-dkms` driver take over properly.
This is a more advanced step, so proceed with caution. If you’re not comfortable with this, you might want to stick to the previous solutions or seek help.
- Open the Terminal (
Ctrl + Alt + T). - Edit the modprobe configuration file:
sudo nano /etc/modprobe.d/blacklist.conf - Add a line to blacklist tg3: Scroll to the bottom of the file and add this line:
blacklist tg3 - Save and Exit: Press
Ctrl + X, thenYto confirm saving, and pressEnterto exit. - Rebuild initramfs:
sudo update-initramfs -u - Reboot:
sudo reboot
After rebooting, re-check your Ethernet connection.
Using the `bcm-kernel` PPA (For older Ubuntu versions or specific chips)
For some chipsets or older Ubuntu versions, a PPA (Personal Package Archive) might offer more up-to-date or specific drivers. The bcm-kernel PPA is a well-known source for Broadcom drivers.
Important Note: PPAs are third-party repositories. Use them with caution and ensure you trust the source. PPAs can sometimes cause system instability or conflicts if not managed properly. Always start with official Ubuntu repositories first.
- Open Terminal (
Ctrl + Alt + T). - Add the PPA:
sudo apt-add-repository ppa:mpchmp/bcm-kernel -y - Update package lists:
sudo apt update - Install the specific kernel module (check PPA for correct package): You might need to search the PPA for the exact package name, or install a general Broadcom driver package if available through the PPA. For example, if the PPA provides a specific driver for your kernel, it might look like:
sudo apt install broadcom-wl-dkms(This is more common for Wi-Fi, but principles apply for wired)Or, it might be a specific module name. You can often find instructions on the PPA page itself (e.g., on Launchpad).
- Reboot:
sudo reboot
You can find trusted information on driver compatibility and PPAs on Ubuntu forums and community sites like Ask Ubuntu.
Hardware IDs and Driver Compatibility
Knowing your hardware ID (like [14e4:1677]) is incredibly useful. You can search online for this specific ID along with “Ubuntu driver” to find discussions or specific driver recommendations for your exact network card model. This can be a lifesaver if the general `broadcom-sta-dkms` package doesn’t do the trick. For example, a search on Ubuntu Forums or Ask Ubuntu might reveal that a specific version of a driver or a custom patch is needed for your particular Broadcom chip.
Here’s a quick table of some common Broadcom Ethernet chipsets and their typical drivers or associated packages:
| Broadcom Chipset | Common Hardware IDs | Likely Driver/Package |
|---|---|---|
| BCM5761/BCM5761e | [14e4:1677], [14e4:1691] | tg3 (default), broadcom-sta-dkms |
| BCM57780/BCM57781/BCM57788 | [14e4:169c], [14e4:167b] | tg3 (default), broadcom-sta-dkms |
| BCM57790/BCM57791/BCM57795 | [14e4:169a] | tg3 (default), broadcom-sta-dkms |
| BCM5906 | [14e4:169f] | tg3 (default), broadcom-sta-dkms |
Note: This table is for informational purposes. Always verify compatibility for your specific model and Ubuntu version.
Drivers and Security
Keeping your drivers updated is not just about functionality; it’s also a matter of security. Like any software, drivers can have vulnerabilities. When you install drivers using Ubuntu’s package manager (apt), you’re generally getting them from trusted sources or through mechanisms designed to keep them secure and up-to-date. Using PPAs or manual installations requires more awareness, as you’re relying on third-party sources.
The `broadcom-sta-dkms` package is excellent because DKMS helps ensure that even after a kernel update, your custom-compiled driver will be rebuilt and continue to work, maintaining your network connectivity and security posture. For more information on driver security and best practices, the Ubuntu documentation on drivers can offer additional insights, especially for enterprise users.
Free Driver Considerations
The keyword “broadcom ethernet missing driver for ubuntu free” often comes up because users want to avoid paying for drivers. The good news is that most drivers for Linux distributions like Ubuntu are open-source or provided free of charge by the hardware manufacturers or the community. Packages like `broadcom-sta-dkms` are indeed free to use and install. If you ever encounter a situation where you’re asked to pay for a driver for Ubuntu, be very skeptical and try to find an alternative free and open-source solution.
Conclusion
Dealing with a non-working Ethernet adapter can be a pain, but as you’ve seen, it’s often a fixable issue. By identifying your Broadcom hardware and installing the appropriate driver, particularly using the reliable `broadcom-sta-dkms` package, you can likely restore your internet connection. Remember to always update your system first, use a temporary internet connection if needed, and don’t hesitate to explore troubleshooting steps