Broadcom Ethernet Missing Driver: Essential Fix
If your computer can’t connect to the internet because the Broadcom Ethernet adapter driver is missing, don’t worry! This guide provides a clear, step-by-step solution to get you back online quickly. We’ll walk through simple methods to locate and install the correct driver, ensuring your network connection works smoothly again.
Why Is My Broadcom Ethernet Driver Missing?
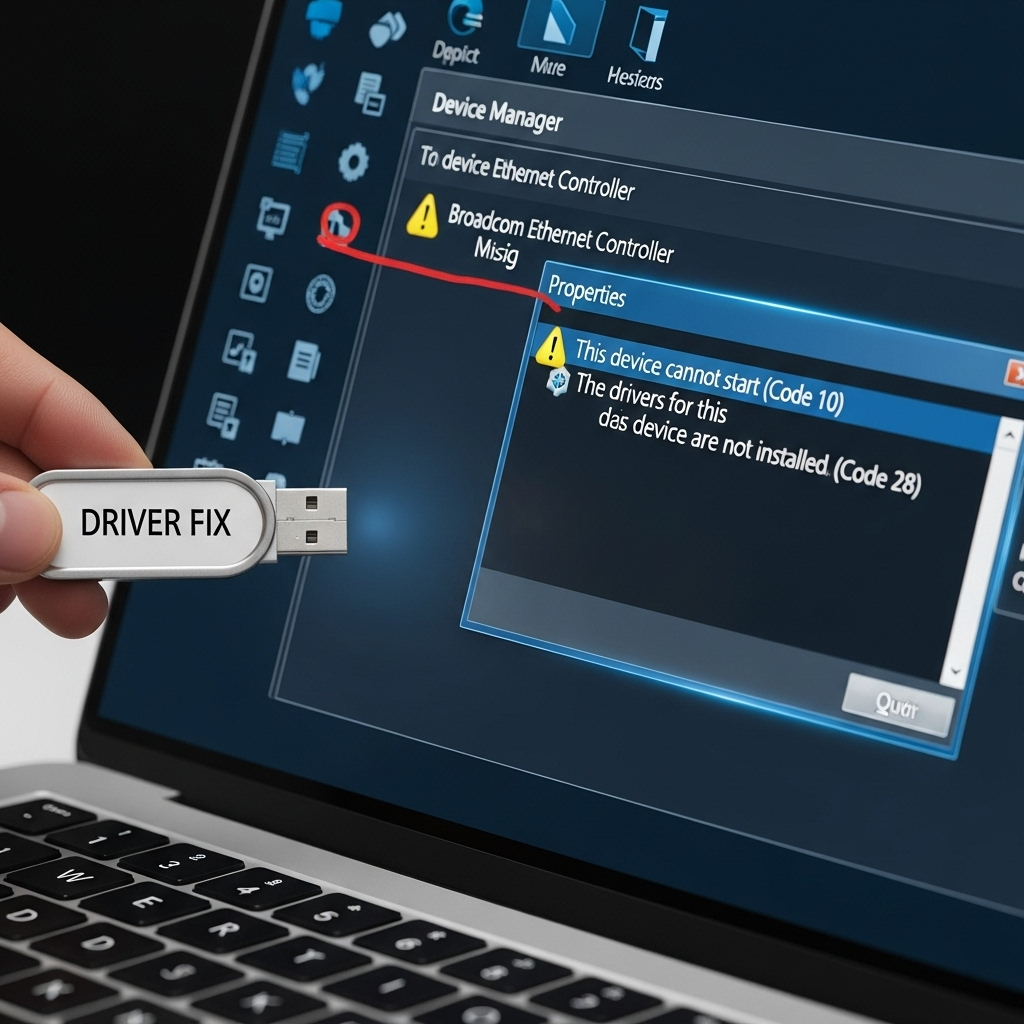
It’s not uncommon for a network adapter driver, like the one for your Broadcom Ethernet connection, to go missing. This can happen after a Windows update, if you reinstall your operating system, or even due to a software glitch. When this driver is absent, your computer doesn’t know how to communicate with your Ethernet hardware, leaving you disconnected. This often shows up as a “Broadcom NetLink Gigabit Ethernet” or similar device with a yellow exclamation mark in Device Manager. Let’s get that fixed!
Understanding Your Broadcom Ethernet Driver

Think of a driver as a translator. Your computer’s operating system (like Windows or ChromeOS) speaks one language, and your Broadcom Ethernet hardware speaks another. The driver is the special program that allows them to understand each other. Without the right driver, the communication breaks down, and your Ethernet port won’t work. Broadcom is a popular chip manufacturer, so their Ethernet controllers are found in many laptops and motherboards.
Troubleshooting Steps: The Essential Fix
We’ll go through this step-by-step, starting with the simplest methods. Our goal is to find and install the correct driver for your Broadcom Ethernet adapter.
| Step | Action | Purpose |
|---|---|---|
| 1 | Identify Your Hardware | Pinpoint the exact Broadcom Ethernet hardware model. |
| 2 | Check Device Manager | See how Windows recognizes (or fails to recognize) your Ethernet adapter. |
| 3 | Windows Update | Let Windows try to find the driver automatically. |
| 4 | Manufacturer’s Website | Download the driver directly from your computer or motherboard maker. |
| 5 | Broadcom’s Website (Use Carefully) | Download from Broadcom directly, but ensure compatibility. |
| 6 | Third-Party Driver Tools (Last Resort) | Use reputable tools cautiously to find missing drivers. |
| 7 | Install the Driver | Manually install the downloaded driver. |
| 8 | Verify the Connection | Check if your Ethernet is now working. |
Step 1: Identify Your Specific Broadcom Ethernet Hardware
Before we can find a driver, we need to know exactly which Broadcom Ethernet adapter you have. Sometimes, the “missing driver” error in Device Manager gives you a clue, but we can do better.
-
Open System Information:
- Press the Windows key + R on your keyboard.
- Type
msinfo32and press Enter.
- Navigate to Components: In the left-hand pane, expand “Components” and then click on “Network” and then “Adapter.”
- Look for Broadcom: In the right-hand pane, scroll down until you find an entry related to Broadcom. It might say “Broadcom NetLink Gigabit Ethernet” or something similar. Note down the name and any specific model numbers mentioned.
This information is crucial for finding the correct driver.
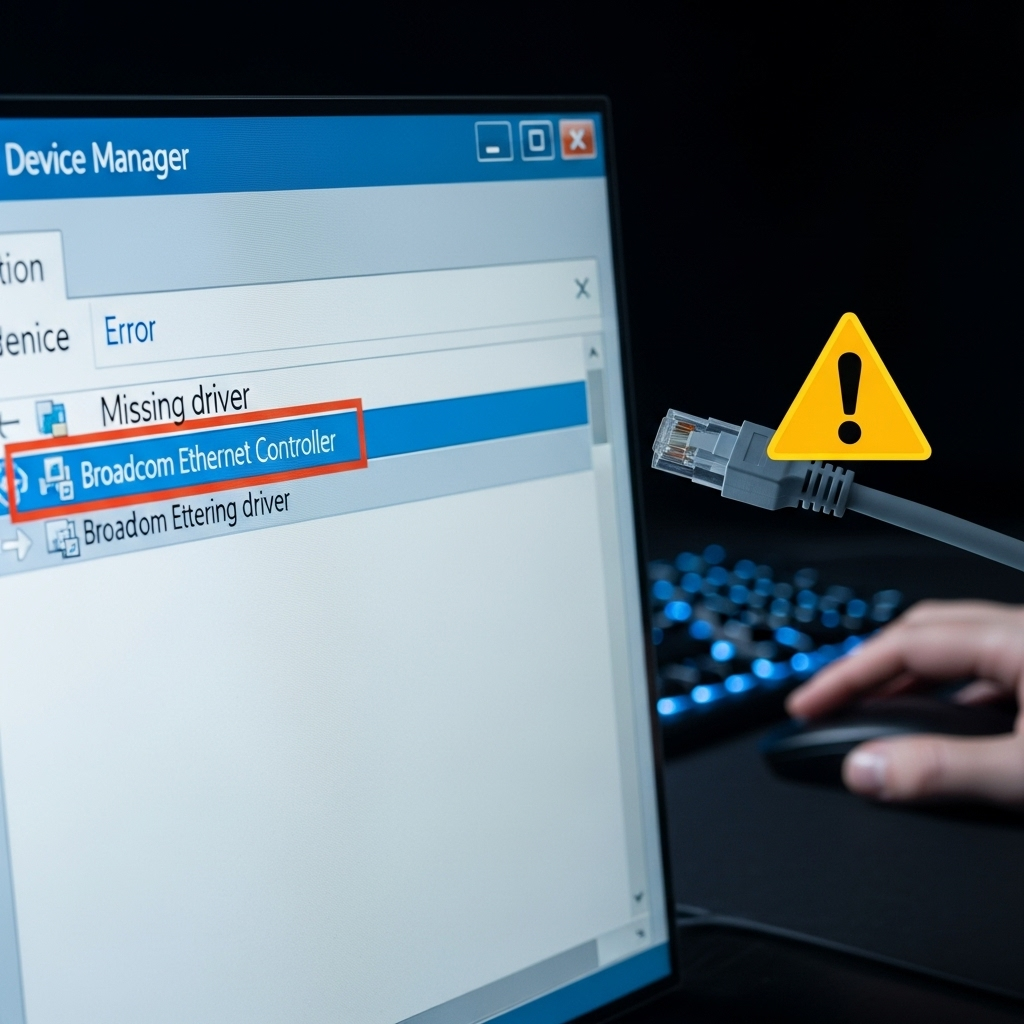
Step 2: Check Device Manager
Device Manager is your best friend when it comes to hardware issues. It shows you all the devices connected to your computer and their status.
-
Open Device Manager:
- Right-click on the Start button (the Windows icon usually in the bottom-left corner).
- Select “Device Manager” from the menu.
- Locate Network Adapters: In the Device Manager window, expand the “Network adapters” section.
- Look for Errors: You’ll likely see one or more devices listed. If your Broadcom Ethernet adapter is missing its driver, you might see it listed under “Other devices” with a yellow exclamation mark, or it might be completely missing from the “Network adapters” list and appear under “Other devices” with a name like “Ethernet Controller.”
If you see a device with a yellow exclamation mark that states “Ethernet Controller” or similar under “Other devices,” this is very likely your Broadcom adapter without a driver.
Step 3: Try Windows Update First
Windows Update isn’t just for system security patches; it also often includes drivers for your hardware. This is usually the easiest and safest way to get a driver.
- Open Settings: Click the Start button and then the Settings gear icon.
- Go to Update & Security: Select “Update & Security.”
- Check for Updates: Click “Check for updates.”
- Optional Updates: After it checks, look for a link that says “View optional updates” or “Advanced options” then “Optional updates.” Sometimes, drivers are placed here. If you see any driver updates related to Broadcom or network adapters, select them and let Windows install them.
If Windows Update doesn’t find anything, or if it installs a driver but it still doesn’t work, proceed to the next step.
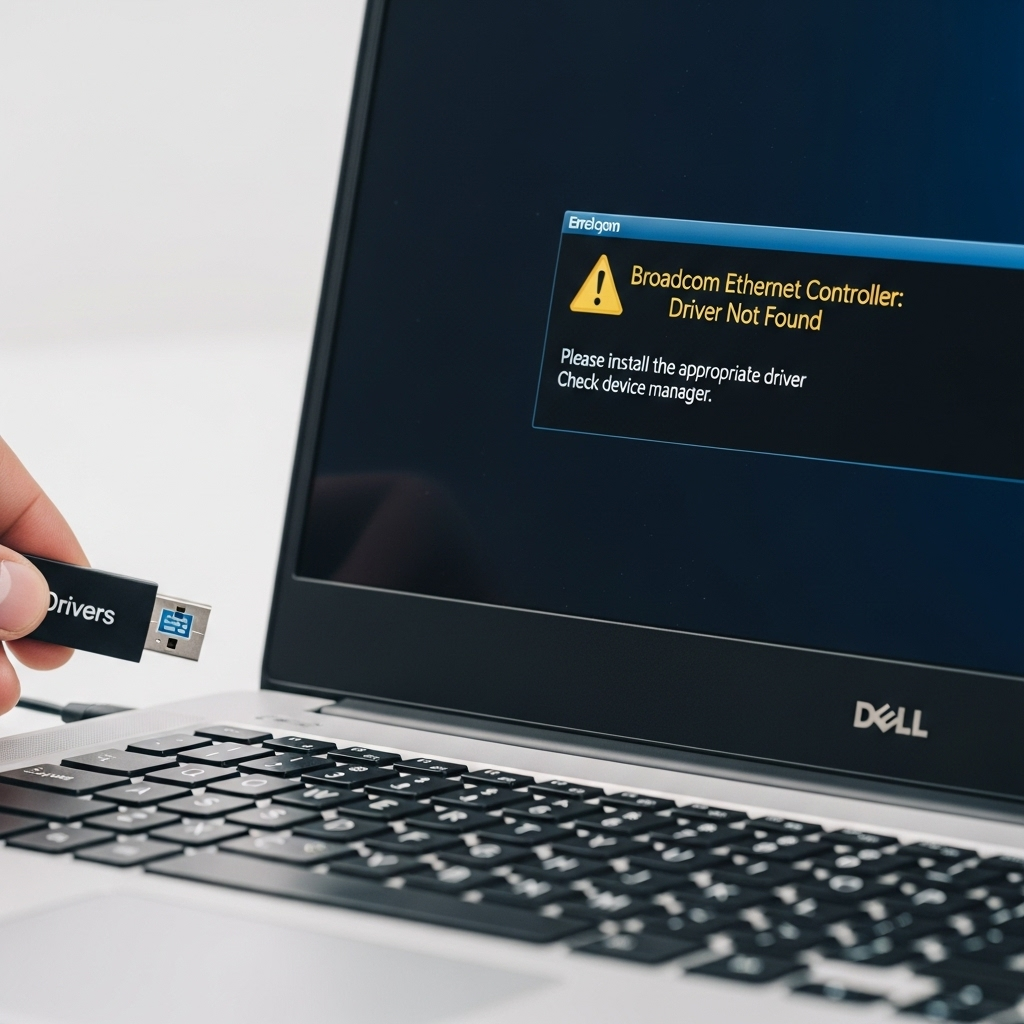
Step 4: Download Driver from Your Computer Manufacturer’s Website (Recommended)
This is often the best approach because the drivers are tailored specifically for your computer model.
- Find Your Computer Model: If you have a branded laptop (like Dell, HP, Lenovo, Acer, ASUS, MSI), find the exact model number. It’s usually on a sticker on the bottom of the laptop, or in System Information (as shown in Step 1). For custom-built desktops, you’ll need the motherboard model.
- Go to the Manufacturer’s Support Site: Open your web browser and search for “[Your Computer Brand] support” or “[Your Motherboard Brand] support.” For example, “Dell support” or “ASUS motherboard support.”
- Enter Your Model or Serial Number: On the support page, there’s usually a search bar where you can enter your model number, serial number, or service tag. This will take you to the specific support page for your device.
- Navigate to Drivers/Downloads: Look for a section labeled “Drivers,” “Downloads,” or “Support.”
- Select Your Operating System: Choose your version of Windows (e.g., Windows 10 64-bit, Windows 11). This is critical for compatibility.
- Find the Network or LAN Driver: Scroll through the list of available drivers and look for one related to “LAN,” “Ethernet,” or “Network.” It should mention Broadcom if that’s what’s in your system.
- Download the Driver Installer: Click the download link for the appropriate driver. It will likely be an executable file (like a .exe) or a zip archive.
Save the file to a location you can easily find, like your Downloads folder or the Desktop.
Step 5: Download Directly from Broadcom (Proceed with Caution)
Sometimes, the computer manufacturer’s site might not have the most recent driver, or you might have a custom build. In these cases, you can try Broadcom’s official site, but be cautious to select the correct driver.
- Visit Broadcom’s Driver Download Page: Search for “Broadcom driver download site.” You should aim for the official Broadcom (now part of Broadcom Inc.) support or download portal. A direct link is often found within their Broadcom Support Download Center.
- Search for the Driver: Broadcom’s site can be a bit complex. You might need to search by product category (e.g., Connectivity > Ethernet Controllers) or by entering keywords like “Broadcom NetLink Gigabit Ethernet driver.”
- Match Your Hardware and OS: This is where it gets tricky. You need to match the driver version to your specific hardware (from Step 1) and your operating system (Windows 10 64-bit, etc.). Look carefully at the driver details.
- Download the Driver: Once you’ve found a likely candidate, download the installer.
Important Note: Drivers downloaded directly from Broadcom are intended for system integrators and may require manual installation. If they don’t come with a clear installer, you might need to use the manual installation method described in Step 7.
Step 6: Using Third-Party Driver Updater Tools (Use as a Last Resort)
There are many “driver updater” tools available. While some are reputable, many are bundled with bloatware or even malware. We recommend this only if all other methods fail.
If you choose this path, select a highly-rated and well-known tool like:
- Driver Booster (from IObit)
- Snappy Driver Installer Origin (SDIO) – This is a more advanced tool that unpacks driver packages.
Proceed with caution:
- Download and Install: Get the tool from its official website only.
- Scan Your System: Run the tool and let it scan for outdated or missing drivers.
- Identify the Broadcom Driver: See if it lists a driver for your Broadcom Ethernet adapter.
- Download and Install: Let the tool download and install the recommended driver. Always create a system restore point before installing drivers from such tools. This allows you to revert changes if something goes wrong.
For more information on keeping your system secure and updated, the Cybersecurity & Infrastructure Security Agency (CISA) provides excellent guidance on cybersecurity best practices, including the importance of updates.
Step 7: Manually Install the Driver
If the driver you downloaded doesn’t have an automatic installer (.exe that runs itself), or if it failed to install, you can try installing it manually through Device Manager.
- Extract the Driver Files (if necessary): If you downloaded a .zip file, right-click it and select “Extract All…” to unpack the driver files to a folder.
- Open Device Manager: (As shown in Step 2).
- Locate the Unrecognized Device: Find your Broadcom Ethernet adapter. It will likely have a yellow exclamation mark and be listed under “Other devices” as “Ethernet Controller” or similar, or it may appear under “Network adapters” with a warning icon.
- Update Driver: Right-click on the device and select “Update driver.”
- Browse my computer for drivers: In the “How do you want to search for drivers?” window, click on “Browse my computer for drivers.”
- Point to Your Driver Folder: Click “Browse…” and navigate to the folder where you extracted or downloaded the driver files. Make sure the “Include subfolders” box is checked.
- Install: Click “Next.” Windows will attempt to find and install the best driver from that location.
- Security Warning (if prompted): You might see a warning about the driver not being digitally signed. If you downloaded the driver from your manufacturer’s website or Broadcom’s official site, it’s generally safe to proceed by clicking “Install this driver software anyway.”
If the manual installation is successful, the yellow exclamation mark should disappear, and the device should be recognized correctly.
Step 8: Verify Your Ethernet Connection
After the driver is installed, it’s time to check if it worked.
- Check Device Manager Again: Open Device Manager (Step 2). Under “Network adapters,” your Broadcom Ethernet adapter should now be listed clearly, without any warning icons.
- Check Network Status: Click the network icon in your system tray (near the clock in the bottom-right corner). If you’re connected via Ethernet cable, it should indicate a connected status or show a network speed.
- Try Browsing: Open a web browser and try visiting a website.
If you’re online, congratulations! You’ve successfully fixed your Broadcom Ethernet driver issue.
Broadcom Ethernet Missing Driver for Chromebook Latest Version
For Chromebooks, the situation is a bit different. Chromebooks run ChromeOS, which is built around Google’s web-based ecosystem and is generally more locked down regarding hardware driver management.
Automatic Updates: ChromeOS updates automatically and very frequently. If a driver is needed for your Broadcom Ethernet adapter on a Chromebook, it’s almost always handled through a system update provided by Google. This means you usually don’t need to manually search for and install Broadcom Ethernet drivers for Chromebooks.
Troubleshooting for Chromebooks:
-
Restart Your Chromebook: A simple reboot can often resolve temporary glitches.
- Click on the time in the bottom-right corner of your screen.
- Click the Power icon.
- Click “Restart.”
-
Check for ChromeOS Updates:
- Click on the time.
- Click the Settings gear icon.
- Scroll down and click “About ChromeOS.”
- Click “Check for updates.” If an update is available, install it and restart.
- Hardware Issue: If after restarting and updating, your Ethernet connection still doesn’t work, it’s more likely to be a hardware problem with the Chromebook’s Ethernet port or the Broadcom adapter itself, rather than a missing driver. In this case, contacting the Chromebook manufacturer’s support or Google Support would be the next step.
- If Using an External Adapter: If you’re using a USB-to-Ethernet adapter, ensure it’s compatible with ChromeOS. Some adapters may require specific drivers that aren’t natively supported by Chromebooks.
Due to the unified nature of ChromeOS, direct manual driver installation for specific hardware like Broadcom Ethernet is generally not an option for end-users. The system manages these drivers for you.
Common Issues and Solutions
Even after installing a driver, you might run into snags. Here are some common ones:
Driver Version Conflicts
Sometimes, a newly installed driver might conflict with other software or system components.
- Solution: Try rolling back the driver. In Device Manager, right-click your Broadcom adapter, select “Properties,” go to the “Driver” tab, and see if “Roll Back Driver” is available. If so, click it.
Driver Package Corrupted
The downloaded driver file could be incomplete or corrupted.
- Solution: Delete the driver from Device Manager (check the box to “Delete the driver software for this device” if prompted) and re-download it from a reliable source (your manufacturer’s website is best).
Incorrect Driver Installed
Choosing the wrong driver for your hardware or operating system is a common mistake.
-
Solution: Repeat Step 1 to confirm your exact hardware model and Step 4 or 5 to ensure you’re downloading the precise driver for it and your OS version