Backing up and restoring your Windows 10 PC is crucial for protecting your important files from data loss. This guide provides an easy-to-follow, step-by-step process for creating backups and restoring your system, ensuring your data is safe and accessible even if something goes wrong. Learn simple methods to secure your digital life without stress.
Why Backing Up Windows 10 is a Must-Do
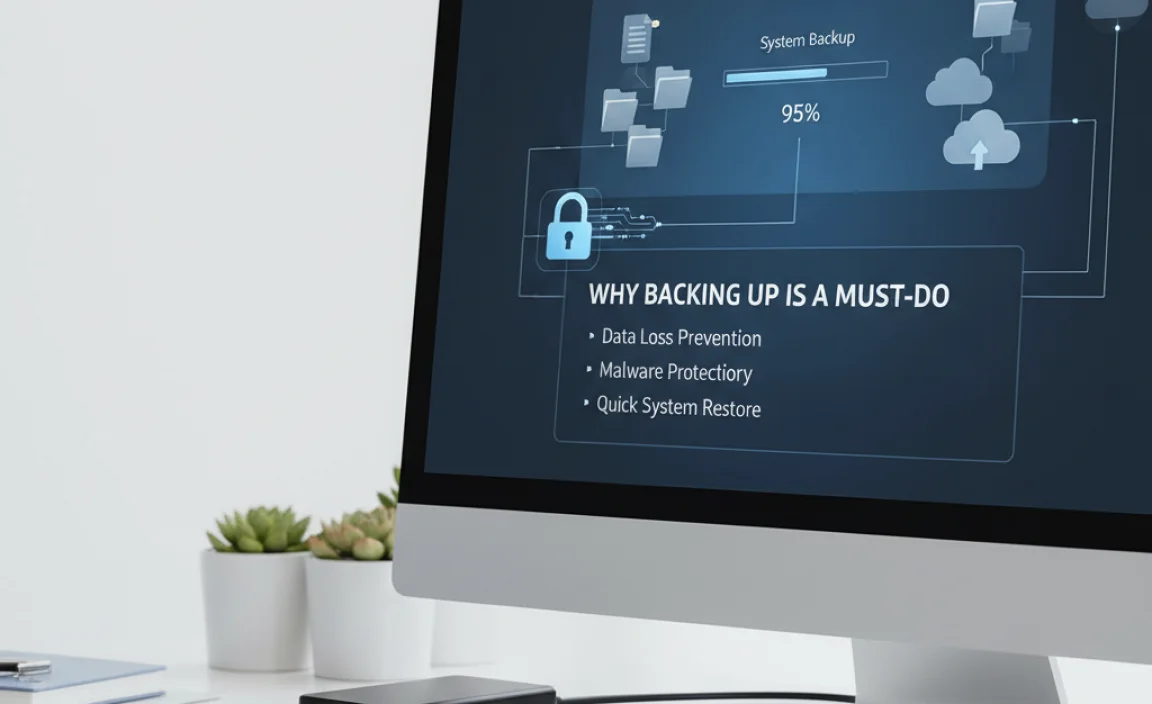
We’ve all been there. That sinking feeling when a file you worked on for hours suddenly disappears, or worse, your entire PC decides to stop working. It’s a frustrating and often scary experience when your precious photos, important documents, or even your entire operating system vanish. This isn’t just bad luck; it can happen due to a hard drive failure, accidental deletion, malware attack, or a botched software update. The good news is, preventing this kind of data loss is incredibly straightforward. You don’t need to be a tech whiz to keep your digital world safe. This guide is designed to show you exactly how to back up your Windows 10 system and how to restore it if disaster strikes, giving you peace of mind. Let’s dive into making sure your important data is always protected.
Understanding Backup and Restore
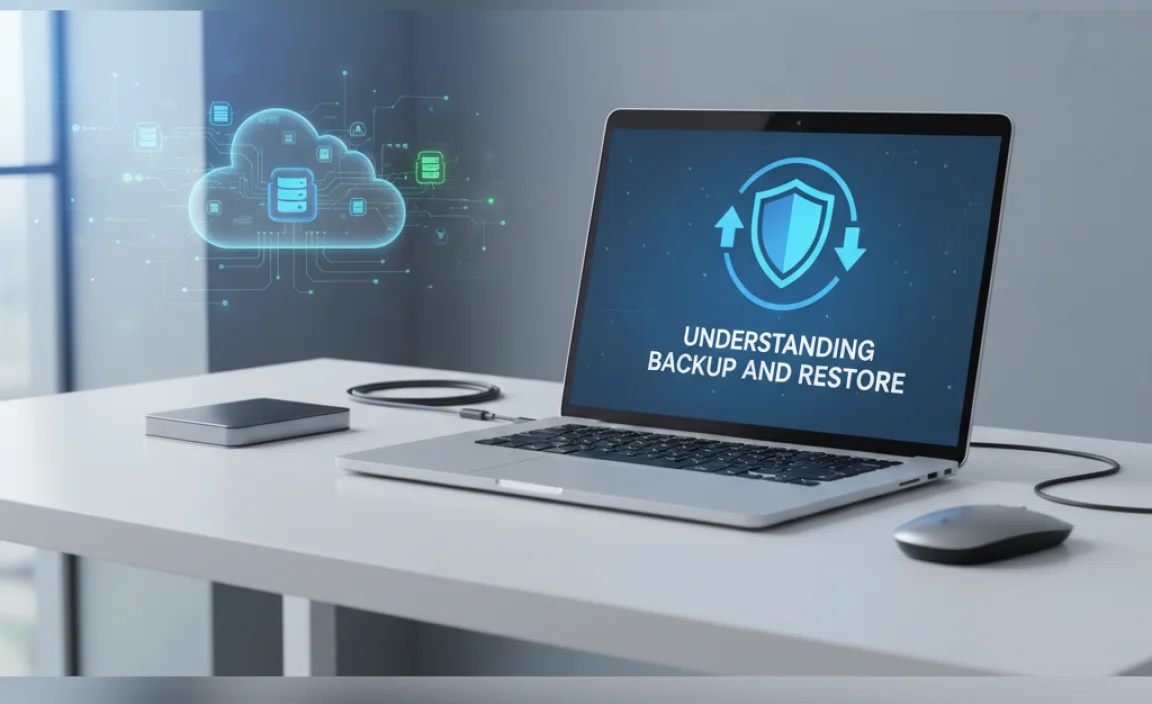
Think of backing up your computer like making a photocopy of your important papers. You create a duplicate copy of your data (files, programs, settings, and even the operating system itself) and store it somewhere safe, separate from your main computer. If anything happens to your original data or your computer, you can use that copy to get everything back exactly as it was.
Restoring is simply the process of using that backup copy to bring your computer or your files back to a previous state. It’s your digital safety net.
Why is Backup and Restore So Important for Windows 10?
Windows 10 is a powerful operating system, but like any technology, it’s not immune to problems. Here’s why having a solid backup strategy is essential:
- Hardware Failures: Hard drives and other components can fail without warning. A backup ensures you don’t lose everything.
- Software Issues: Corrupted system files, unexpected errors after updates, or buggy applications can render your PC unusable.
- Malware and Viruses: Ransomware can encrypt your files, and other viruses can delete or damage them. A backup means you can recover without paying a ransom.
- Accidental Deletion: We all make mistakes. Sometimes files or folders are deleted unintentionally.
- Theft or Damage: If your computer is stolen or physically damaged, your data is gone unless it’s backed up elsewhere.
- Peace of Mind: Knowing your important files and system are safe is invaluable.
Types of Backups in Windows 10
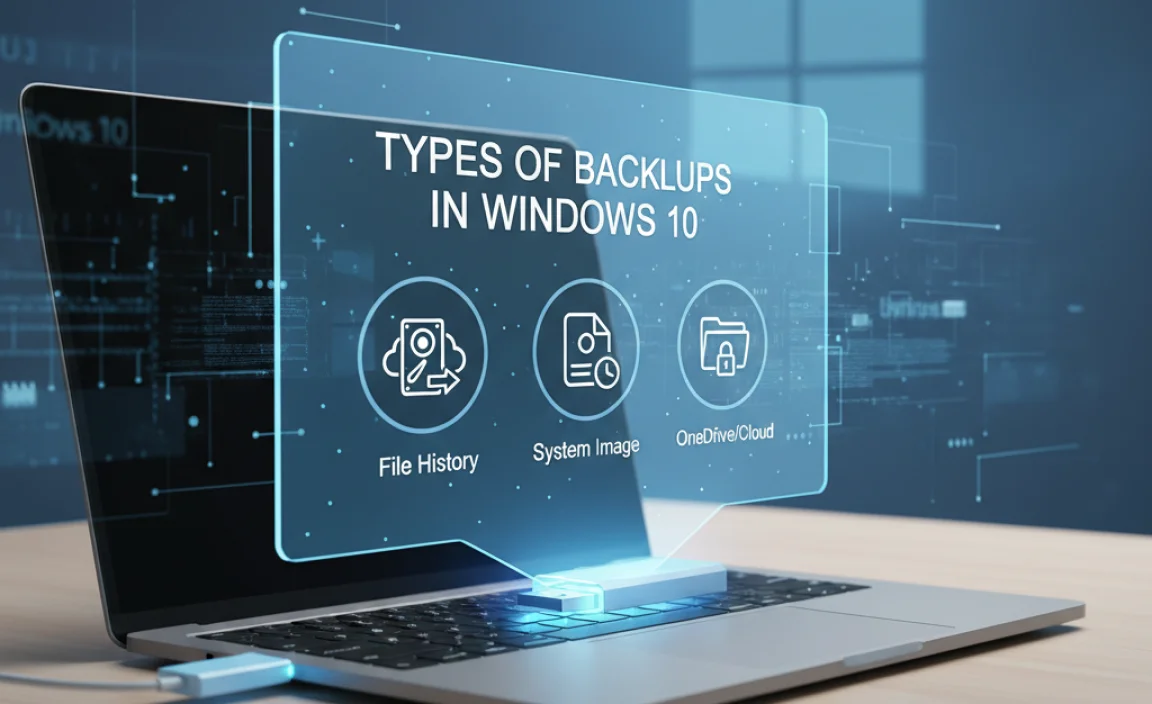
Windows 10 offers several built-in tools and methods to help you back up your data. Understanding these options will help you choose the best approach for your needs.
1. File History
File History is a feature designed to automatically back up versions of your files that are in your Libraries (Documents, Music, Pictures, and Videos) and on your Desktop. It’s a fantastic tool for backing up personal important files.
- How it works: It periodically saves copies of your files to an external drive or a network location. If a file is lost or damaged, you can restore it.
- Pros: Easy to set up, runs automatically in the background, keeps multiple versions of files, can restore specific files or folders.
- Cons: Primarily backs up personal files in specific folders, not your entire system or applications.
2. System Image Backup
This is a more comprehensive backup that creates an exact copy of your entire drive, including Windows, your programs, settings, and all your files. It’s like taking a snapshot of your entire system.
- How it works: You create a “system image” which is a large file stored on an external hard drive or another large storage device. If your computer’s hard drive fails or Windows becomes unbootable, you can restore this image to a new drive to get your system back to its exact previous state.
- Pros: Backs up everything – OS, applications, settings, and files. Excellent for disaster recovery.
- Cons: Requires a large amount of storage space, takes longer to create and restore than file backups, restores the entire drive, not individual files easily.
3. Using Cloud Storage Services
Services like OneDrive (built into Windows 10), Google Drive, Dropbox, and others offer ways to back up your files to the cloud. Files saved in your synced cloud folder are automatically uploaded and accessible from any device.
- Pros: Files are accessible from anywhere, protects against local hardware failure or disaster. Many services offer free tiers.
- Cons: Dependent on internet speed for uploads and downloads, might require paid subscriptions for larger amounts of storage, not a full system backup.
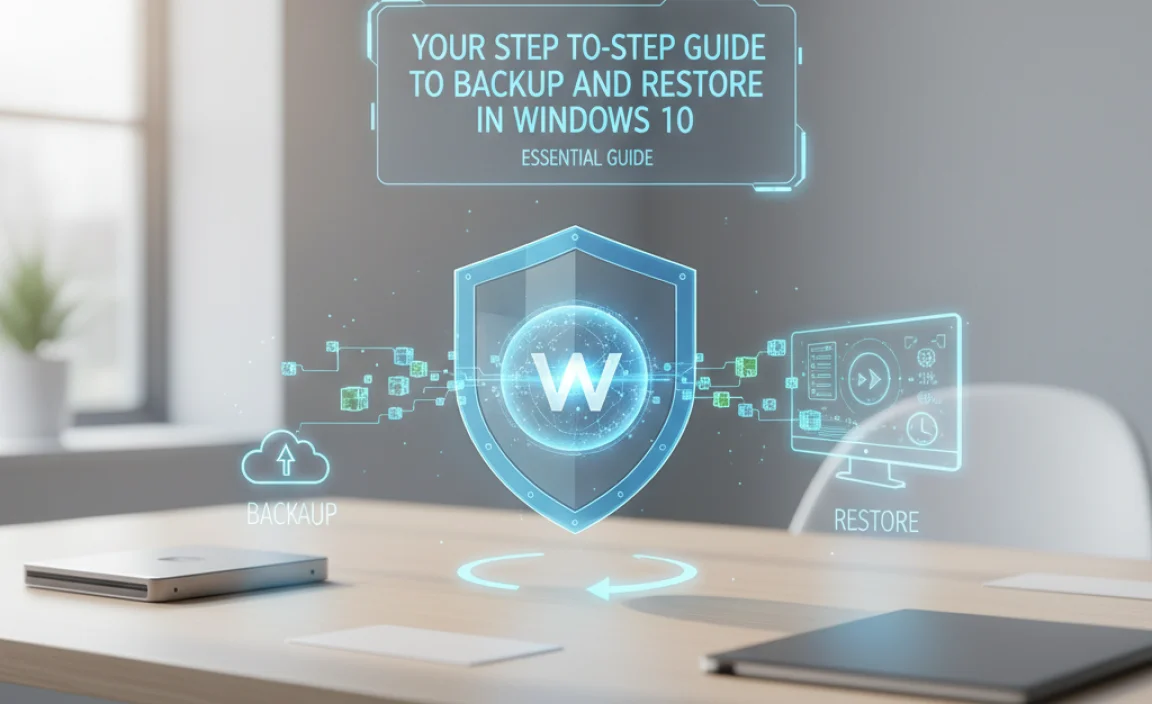
Your Step-by-Step Guide to Backup and Restore in Windows 10
Method 1: Setting Up File History
This is the easiest way to protect your personal documents and important files. Let’s get it set up!
What You’ll Need:
- An external hard drive or network location. It’s best to use a drive that’s at least twice the size of the data you’re backing up.
Steps to Enable File History:
- Connect your external drive: Plug your external hard drive into your computer.
- Open Settings: Click the Start button and select the Gear icon (Settings).
- Go to Update & Security: Click on “Update & Security”.
- Select Backup: In the left-hand menu, click “Backup”.
- Add a drive: Under “Back up using File History,” click “+ Add a drive”. Windows will scan for connected drives and show them. Select your external drive.
- File History is now on: Windows will automatically start backing up your files.
Customizing File History Settings:
You might want to adjust how often backups happen or which folders are included.
- Click “More options” on the Backup screen.
- Here you can:
- Choose folders to include or exclude: Click “Add a folder” or “Exclude these folders”.
- Set backup frequency: Choose how often Windows saves copies (e.g., hourly, daily).
- Set retention: Decide how long to keep saved versions of files (e.g., “Until space is needed” or “For a specific period”).
Restoring Files from File History:
Lost a file? Need an older version? File History makes it easy.
- Open Settings: Go to Settings > Update & Security > Backup.
- Click “More options”.
- Scroll down to “Related settings” and click “Restore files from a current backup”.
- Browse or search: A File History window will appear. You can browse through your backed-up folders or use the search bar at the bottom to find specific files.
- Use the restore buttons: Use the green circular arrow buttons at the bottom to restore the selected file or folder to its original location, or right-click to choose where else to save it.
- Select versions: If you want to see older versions of a file, use the left and right arrow buttons at the bottom to cycle through different save dates.
Method 2: Creating a System Image Backup
This is your ultimate disaster recovery tool. If your PC won’t boot, a system image can bring it back from the brink.
What You’ll Need:
- An external hard drive with enough free space to hold a copy of your entire system drive (usually C:). This can be quite large, potentially hundreds of gigabytes.
- (Optional but recommended) A Windows 10 installation disc or USB drive, or a “System Repair Disc” if you have one – this is used to boot into recovery tools if your PC won’t start.
Steps to Create a System Image:
- Connect your external drive.
- Open Control Panel: Search for “Control Panel” in the Windows search bar and open it.
- Navigate to Backup and Restore:
- If viewing by “Category,” click “System and Security,” then “Backup and Restore (Windows 7)”. (Yes, it still says Windows 7, but it works for Windows 10!).
- If viewing by “Large icons” or “Small icons,” click straight on “Backup and Restore (Windows 7)”.
- Click “Create a system image” on the left-hand side.
- Choose a backup location: On the “Where do you want to save the backup?” screen, select “On a hard disk” and choose your external drive from the dropdown menu. Click “Next”.
- Select drives to include: Windows will automatically select the drives required for Windows to run (usually your C: drive and a recovery partition). You can choose to include additional drives if you wish. Click “Next”.
- Confirm settings and start: Review the backup settings and click “Start backup.” This process can take a while, depending on how much data you have and the speed of your drive.
- Create a system repair disc (Recommended): Once the system image is created, Windows might prompt you to create a system repair disc. This is highly recommended. Insert a blank CD/DVD (or a USB if you’re making a repair USB) and follow the on-screen prompts. If you skip this, you’ll need a Windows 10 installation USB or DVD to start the restore process.
Restoring From a System Image Backup:
This is for more serious situations where your computer won’t boot or your main drive has failed.
- Boot from your repair media:
- If you created a system repair disc or USB, insert it into your computer and restart. You may need to change your BIOS/UEFI settings to boot from the disc/USB first.
- If you have a Windows 10 installation media (USB or DVD), insert it and boot from it.
- If your computer can still boot but you want to restore, you can go to Settings > Update & Security > Recovery > Advanced startup > Restart now. Then navigate to Troubleshoot > Advanced options > System Image Recovery.
- Select your language and keyboard layout (if booting from repair media).
- Choose “Troubleshoot.”
- Choose “Advanced options.”
- Select “System Image Recovery.”
- Select the latest system image: Windows will try to find your system image backup. If it doesn’t find it automatically, you’ll need to point it to the external drive where you saved it and select the image file.
- Follow the prompts: Carefully follow the on-screen instructions to complete the restore process. This will overwrite everything on your current drive with the data from the image. Be sure to choose the correct disk if you have multiple drives.
Method 3: Using Cloud Storage for File Backup
Cloud storage is excellent for keeping your most critical files accessible and safe from local issues.
Setting Up OneDrive (Built-in):
- Check if OneDrive is active: Look for the cloud icon in your system tray (bottom right of the screen). If it’s not there, search for “OneDrive” in the Start menu and open it.
- Sign in: Sign in with your Microsoft account.
- Choose folders to sync: During setup, or by right-clicking the OneDrive icon in the system tray and selecting “Settings,” you can choose which folders (Desktop, Documents, Pictures) are automatically backed up to OneDrive.
- Always keep on this device/free up space: You can manage how files are stored. “Always keep on this device” means they are fully downloaded, while “Free up space” keeps them in the cloud until you open them.
Restoring Files from OneDrive:
If you need a file:
- Access OneDrive online: Go to onedrive.live.com.
- Browse and download: Find your file and download it.
- Use File Explorer: If OneDrive is synced to your PC, your files will appear in File Explorer just like any other folder. You can copy them from there.
Backup vs. Restore: Key Differences
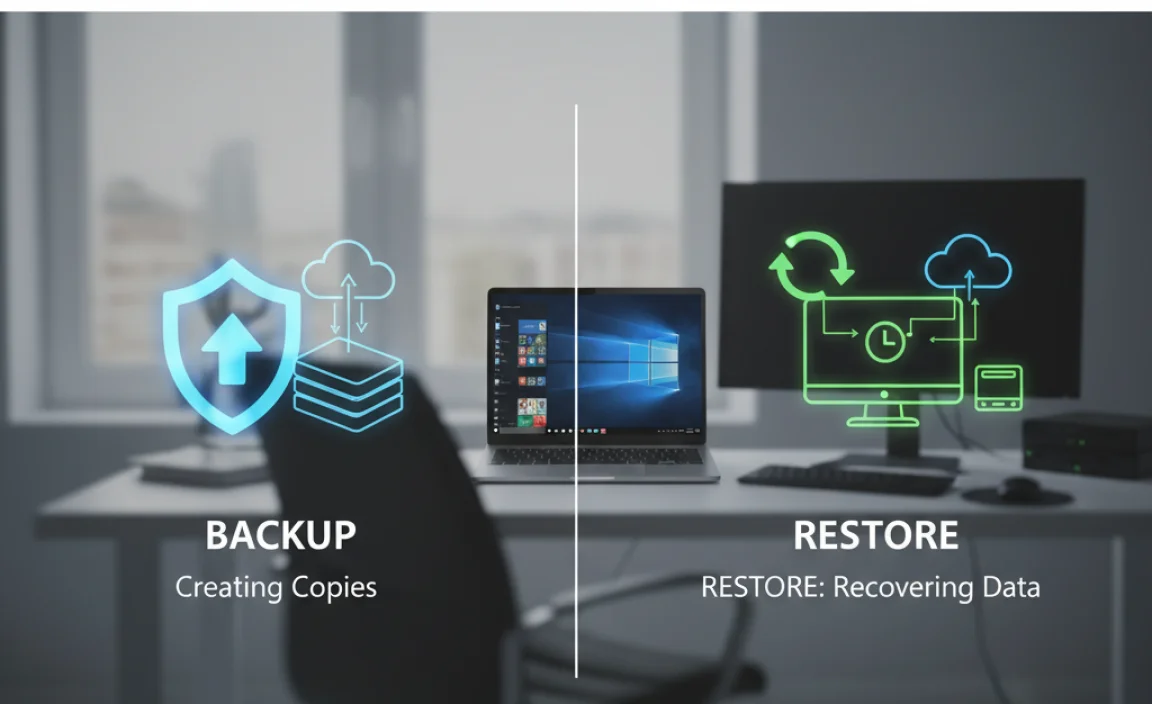
It’s important to understand what each process does:
| Feature | Backup | Restore |
|---|---|---|
| Purpose | Creating a copy of your data. | Using a copy to recover data or your system. |
| Action | Saving data to an external location. | Copying data from an external location back to your PC. |
| When to do it | Regularly, to protect against future issues. | When data is lost, corrupted, or your system fails. |
| Tools used | File History, System Image Backup, Cloud Sync. | File History restore feature, System Image Recovery, Cloud download. |
Best Practices for Windows 10 Backups
To make sure your backups are as effective as possible, follow these tips:
- Backup Regularly: Don’t wait until it’s too late. Schedule your backups or ensure File History is always running. For critical data, daily or even continuous backups are ideal.
- Use Multiple Backup Methods: Don’t rely on just one method. Consider using File History for your personal files and performing occasional system image backups for a full recovery option. Cloud storage adds another layer of protection.
- Store Backups Offsite: External drives can be lost, stolen, or damaged along with your primary computer. Cloud storage is an excellent offsite solution. If using external drives, consider keeping one in a different physical location (e.g., at an office or a relative’s house).
- Test Your Backups: Periodically, try restoring a few files from your backup to ensure they are valid and accessible. A backup you can’t restore from is useless.
- Monitor Backup Space: Make sure your backup drive has enough space. For File History, older versions will be deleted to make room for new ones, but if the entire drive fills up, backups will stop.
- Keep System Repair Media Handy: If you create a system image, make sure you have your system repair disc or Windows installation USB readily available in case you need it for recovery.
Troubleshooting Common Backup Issues
Sometimes, things don’t go as planned. Here are common problems and how to address them:
- “File History drive not detected”: Ensure the drive is properly connected, powered on, and formatted correctly (NTFS is preferred). Try a different USB port.
- “Backup failed with error XXXXX”: Error codes can be cryptic. A good first step is to search for the specific error code online. Often, it means there’s a problem with the drive, insufficient space, or a corrupted file that’s preventing the backup from completing. Try excluding problematic folders temporarily.
- Insufficient space on backup drive: For File History, this means old versions will be deleted. For system images, you’ll need to free up space or use a larger drive.
- System Image Restore fails: This is usually due to corrupted backup files, an incompatible drive, or an incorrect boot order. Ensure your repair media is compatible and try re-creating the backup if possible.
System Restore vs. System Image Backup: A Quick Look
It’s easy to confuse System Restore with a System Image Backup. They are different:
| Feature | System Restore | System Image Backup |
|---|---|---|
| What it backs up/restores | System files, settings, installed programs, and registry. It does not back up your personal files (documents, photos). | An exact copy of your entire drive (Windows, apps, settings, and all files). |
| Purpose | Reverts your PC to an earlier working state to fix software problems or recent changes. | Full disaster recovery, cloning your entire system state to a new drive or restoring a failed drive. |
| Requires | Restore points (automatically created by Windows or manually made). | A complete copy of your drive stored on external media. |
| Impact on Files | Personal files are generally unaffected. | All files on the target drive are overwritten during restore. |
While System Restore is helpful for undoing recent software glitches, a System Image Backup is your true safety net for hardware failure or major corruption.
Frequently Asked Questions (FAQ)
Q1: How often should I back up my Windows 10 PC?
It depends on how often your data changes. For important personal files, running File History daily or hourly is a good idea. For critical systems or business data, consider more frequent backups or even continuous cloud sync. System Images are less frequent, perhaps once a month or before major system changes.
Q2: Can I back up and restore my PC to a different hard drive?
Yes! For File History, you can simply point it to a new drive. For System Image Backups, you absolutely can and should restore to a different hard drive, especially if your original drive has failed. You’ll need to boot from your repair media to perform this type of restore.
Q3: Do I need third-party backup software?
Not necessarily. Windows 10 has robust built-in tools like File History and System Image Backup that are perfectly capable for most users. Third-party tools often offer more advanced features, scheduling options, or encryption, which might be beneficial for power users or businesses, but for simplicity beginners can start with Windows’ own tools.
Q4: How do I know if my backup was successful?
For File History, check the “Last backup” time in the settings. For system images, the tool will usually report success or failure. The best test is to try restoring a file or two from the backup to ensure its integrity.
Q5: What’s the difference between System Restore and System Image Backup?
System Restore reverts your system settings and installed programs to an earlier point in time, it doesn’t back up your personal files. A System Image Backup creates an exact copy of your entire drive, including all your personal files, programs, and Windows itself, for complete disaster recovery.
Q6: Will backing up my PC affect its performance?
File History runs in the background and uses minimal resources, so you likely won’t notice it. Creating a System Image can take a significant amount of time and system resources, so it’s best to do it when you won’t be using your PC heavily.
Conclusion
Keeping your Windows 10 computer safe from data loss is not a complicated task. By understanding and utilizing tools like File History and System Image Backup, you can create reliable backups of your precious files and your entire system. Remember to back up regularly, use more than one method if possible, and store your backups securely. With these simple steps, you gain the confidence that your digital life is protected, even if something unexpected happens to your PC. Don’t wait for a problem to occur – start backing up today and enjoy the peace of mind that comes with knowing your data is safe and sound!